Hi Everyone,
Happy almost end of March!
Finally, I have gotten together a complete renovation shopping list.
It’s now all in one place, but not all on one page. However, this post is serving as a means to announce the completion, to date, 3.26.2026.
Wait, Laurel! Didn’t you already publish this post like a few weeks ago?
Yes, I did. However, so much has been written since then that this post sorely needed a revision. There’s a reason for my madness. When people are looking for the items I used, they’re not going to want to wade through volumes of text and images. Therefore, the pages with the links and shopping widgets do have images and text, but not nearly as much as the blog posts, which also link to other pertinent pages.
So, the pages are for quick inspiration and info, and the blog posts go into much greater detail.
Speaking of pages. Tonight, I attempted to add the new landing page for the complete renovation shopping list. It’s not difficult, but it’s not something I do very often. So, I added the new “Shop My Home” page.
And then, I don’t know what happened except that my entire menu was gone and in its place were a bunch of blog post titles and links. But not only that, there was no way to get the old menu back!
Well, there is a way. I could’ve contacted my web host, first saving all the work I had done today, and then had them roll back the site a few hours. Yes, they can do that. Pretty cool, huh? However, I have a new web host, Kinsta, because it’s considerably less expensive than the one I’ve had for the last 8+ years. And I’ve never contacted them before.
In a panic, I texted my developer, Tim.
He’s the type that has his phone surgically attached to his hip. Really, I should call him Dr. Tim! Sure enough, he got back to me in about 10 minutes. However, in the meantime, I created a new menu and started to add back the pertinent items. In any case, I was planning on giving the main menu a renovation of its own. Well, now, I’ve had a major head-start.
Anyway, this post has a fair amount of new content that has been added today and over the last three weeks. In those links are new images, some old and some new.
What’s included in the complete renovation shopping list?
Well, everything I used for my recent renovation, and also some other items I’m including, because:
- They are on my wish list. In other words, I don’t have the item yet, but am considering it.
- A few items are alternative products. Most of my furnishings, for example, are vintage or discontinued and effectively are one-of-a-kind. However, as much as possible, I included similar items.
- The majority of items I purchased are “widgetable.” (Now, that’s a word!) That means that I got them online from a source that’s part of the affiliate network. Thus, you will find the items in a large shopping widget.
To make things a bit easier, I have divided my home into four areas.
Two are upstairs, and two are downstairs.

Upstairs

Then, Downstairs, these are the other two areas:
My Renovation Shopping List – Bathroom and halls (downstairs)
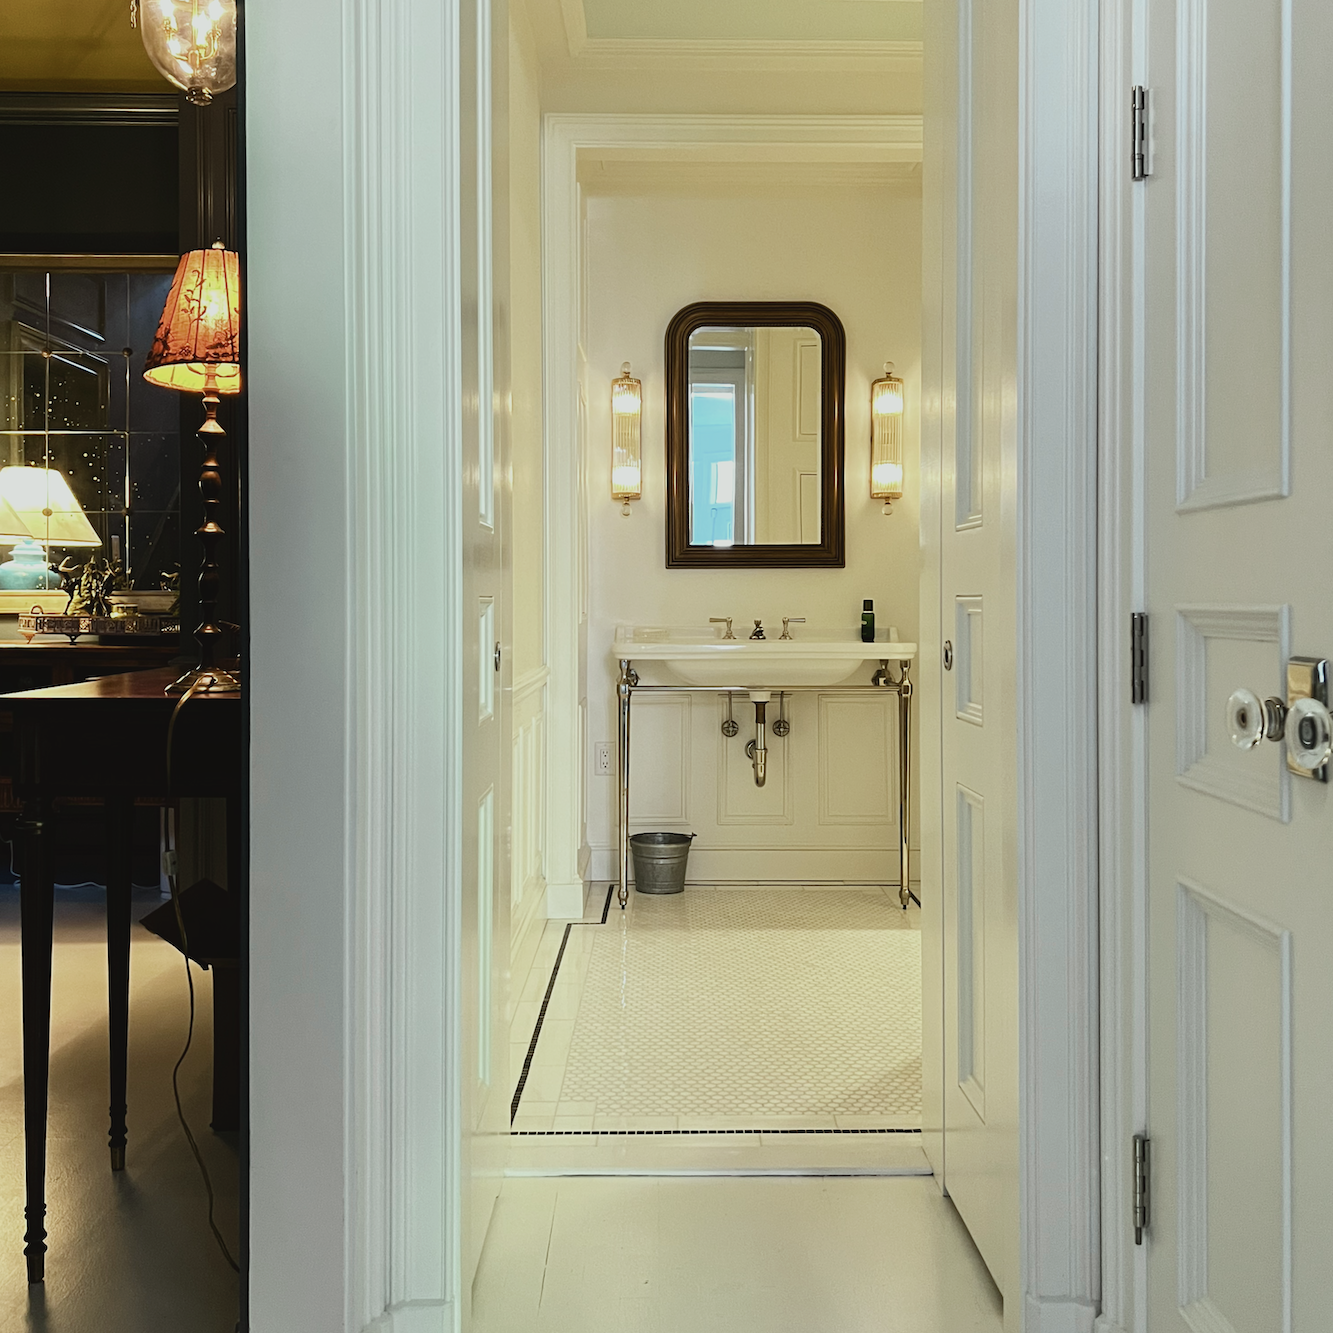
Some notes regarding the renovation shopping list:
Because I have divided my condo into sections, there will be some repetition with some of the mouldings, door knobs, etc.
The upstairs bathroom has not been touched except for the new Huntingdon sconces by Visual Comfort.
The question is: Do you see what’s missing?

Yes, the microwave is no longer sitting on the counter!
So, where is it?
It’s in the kitchen pantry where it’s supposed to be.


When my son Cale was here for my birthday, the day before, we remeasured very carefully and realized that the opening was only 1/8″ too small.* So, Cale purchased a planer and got to work.
*The measurements of the microwave didn’t include the 3/8″ protrusions on each side.

So cute with the pencil behind his ear.
He did a great job, too!

What I didn’t know was that there was going to be a two-inch piece of wood on the interior of the cabinet. I do see why one inch is necessary. It’s so that anything inside clears the hinges when it slides out. But they could’ve given me another two inches inside, and then I could’ve done a slightly larger microwave. I’m sure it’s my fault that I didn’t double-check the exact interior clearance.
Okay, finishing up this quick post, you will also find all of the links for the complete renovation shopping list by going to the page below.
(This also corresponds to the menu heading “Shop My Home.”)
It was fun reliving everything again by putting together this renovation shopping list. Well, mostly fun! haha
xo,

***Please check out the recently updated HOT SALES
There was a big New Year’s sale for this weekend, with some of my favorite sales happening right now.
Also, if you’re doing some shopping on Amazon, please click this Amazon affiliate link or the graphic below.

Thank you so much!
I very much appreciate your help and support!
Related Posts
 Laurel’s Home Renovation 2024 – News & Deets!
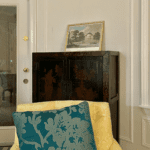 14 month Renoversary! and I’m Back In My Bedroom!
 The Primary Bedroom Suite – Final Design!
 The Bright Light at the End of the Renovation Tunnel
 The Best Lighting Ideas You Can Steal! (from me)
 Renovation News and Deets!
 22 Renovation Mistakes No One Bothered to Warn You About (Until Now)


16 Responses
Thank you for this blog i apricated for this blog and very need full this
Thank you again for being so generous with your talent. I adore everything!
Another fabulous post, Laurel! If I could just “add it all to cart” I would!
Next up: a fabulous magazine spread or visit from Homeworthy!!!
Hi Laurel. Thanks for this great list. I’m sorry if I missed this in an earlier post, but for your microwave and toaster oven pull out shelves, did you just turn standard shallow pull out drawers/shelves upside down? If so, what a brilliant idea!
Hi Tsiipi,
They might be pull out shelves. Crown Point made them and it makes sense to pull out more easily.
Hi five on having a son that will help on your projects! I LOVE the idea of your cabinet having the microwave and toaster oven in there. I am now thinking through how to take a builder spec kitchen pantry and make it into something special like you have. Cheers to lots of great memories in your new spaces!
Hi Laurel,
Your home is beautiful! My favorite item in your home is your sofa. You inspired me to buy my teal sofa and I love it. I was also a fan of the turquoise microwave but I understand the change to a white one. I have a question regarding trim color for baseboards? Did you use the same color as your wall color, and just change the sheen? Seems as though painting trims, especially baseboard, a lighter color than the walls is going away. I am getting ready to paint my interior and just wanted your opinion. I like the idea of painting the baseboards the same color as walls and using a different sheen. Maybe it would depend on the style/design you are going for or the style of your home.
Thank you!
Hi Carrie,
All of the trim including wainscoting, baseboards, ceiling, coving, frieze, door casings are Benjamin Moore Cloud White. The walls are Moonlight White which is a touch deeper. It’s very subtle, but looks great. I used matte for the walls, and satin for the trim, except for the frieze, and coving which are matte. The ceiling is also matte.
I had the same problem with hinges, needing clearance, I opted to move the hinge location up an inch and a half. No one knows but me. And now you!
Love your posts.
Wonderful posts! Your fireplace is magnificent. Have you decided to keep the knotty pine coffee table, Henredon I believe, in its natural state? I think you originally did not care for it. After seeing several 1930s-50’s movies showing expensively furnished offices with knotty pine interiors, I’m starting to like it this material. Thanks for all the links. Helpful information. I have always wondered about you lovely rug. Now I know more.
Hi Randy,
I think the wood looks good now in the den. The sofa is white and the warmth of the table makes for a welcoming contrast. Someone once said the blue color would feel cold in the winter, but it doesn’t in the slightest. It’s a blue with a lot of warmth. Plus that room never feels cold.
Hmmm….my guess is matte. On my walls matte and eggshell are very chalky too. That’s what promoted the satin/pearl. The house is only 35 years old, so trim and walls are in great shape. I really appreciate the response from the Master of Color!
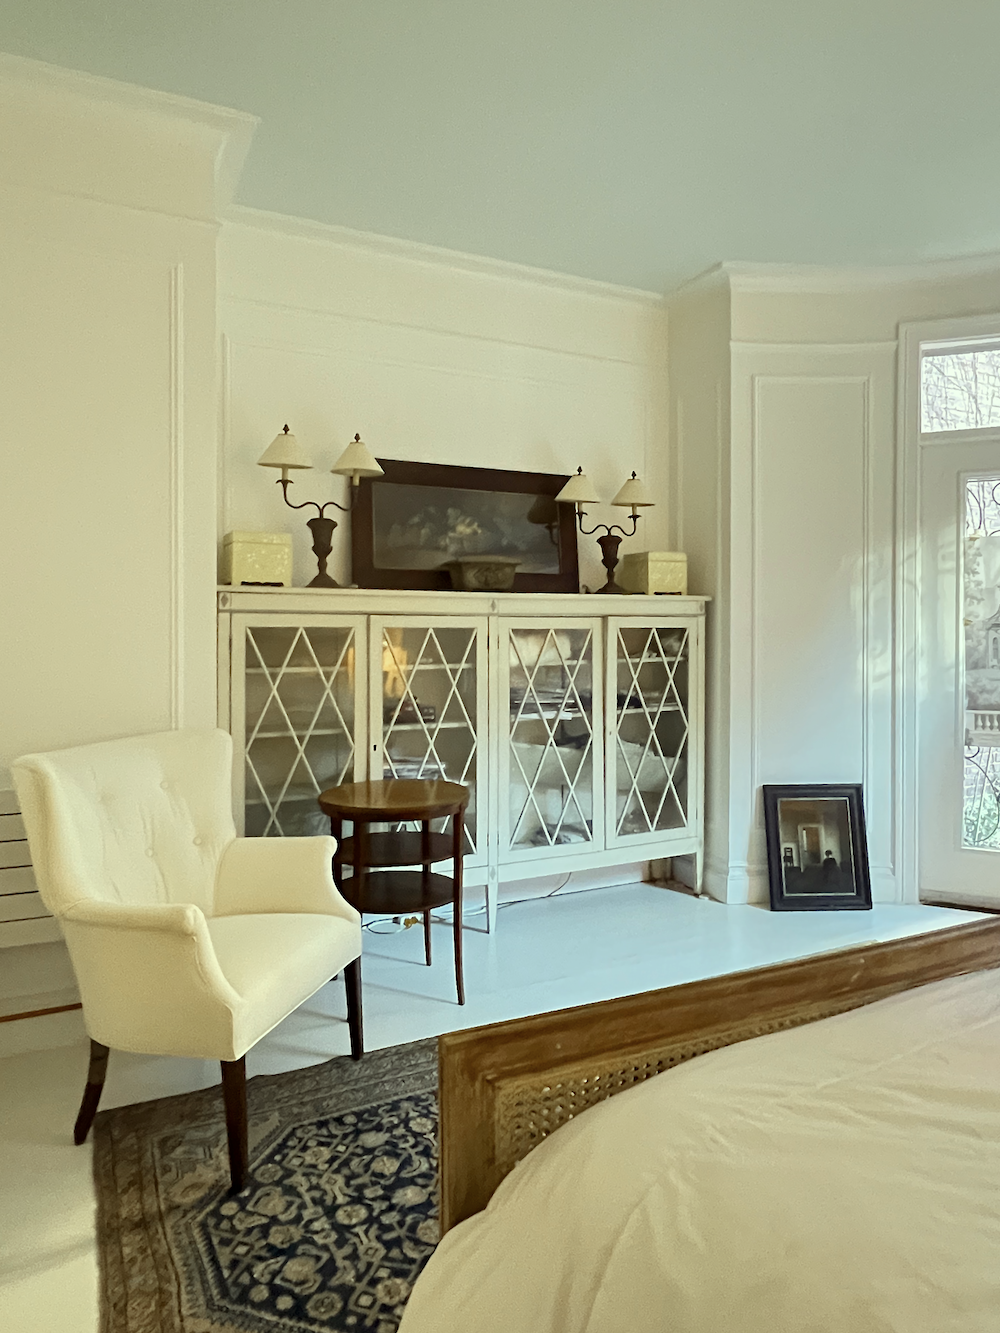
I keep waiting for you to show the kitchen glass cabinet either totally empty or gorgeous. It looks like a “before” in there. I know you don’t like a bunch of stuff, but this looks so neglected. Maybe check out Martha Stewart for some ideas on how she does her shelves, just kidding! But I do like her white ironstone collections.
Oh, I adore ironstone, Hazel. Please come over and do it for me. I’d be very grateful. And while you’re at it, please hire a photographer, a cleaning service, a carpenter, painter, AV person, and anyone else you think would make everything look the way you think it should be. I’m not kidding.
I love all of your posts, but this one just might be the best ever. Thanks and more thanks for the One Stop Shopping List!
When I saw the Cloud White samplize, it prompted a question. I loved your primary bath so much, that I just painted my whole exterior Cloud White and looove it. Now I’m doing the inside with it too, but I’m thinking about High Gloss for the trim and Satin/Pearl for walls and ceilings. The gloss seems to bring more of the creamy color out on the inside (more like the outside.) Big mistake or go for it?
Hi Candy,
I always did semi-gloss for trim and matte for the walls. My painter did satin for the trim. It’s weird, in the bathroom, the areas around the sink are shiny, but around the toilet it looks chalky. The embrasure hall area looks like satin or semi-gloss. Maybe it’s the lighting or maybe they used matte in the toilet area.
High gloss can be beautiful but the trim should be new or in excellent condition or it probably won’t look so great.