

Hi Everyone,
This is parts 1 and 2 of a post about architectural moulding selections. If you’ve read part 1, please click the link below to read part 2. If you’re just landing here, please read from the top.
But first, for your listening pleasure or if you’re having trouble sleeping, a little soothing concert, courtesy of my darling, but whiny, Bertazzoni refrigerator.
Enjoy!
Yes, this goes on ALL DAY LONG!!! It’s nice to have company, but…
Part 2 Begins Here
Hi Everyone,
As I stated the other day in the renovation news post, it is time to get serious about my moulding selections. I also began talking about it in this post, but that was more about a common mistake with a crown that’s too large and the wrong architectural style.
However, it’s not only crown mouldings that are at issue; it’s most mouldings.
It has to do with size, and most of the time, it is better to err on the side of a little too small than too big, as we saw here.
So, Laurel, now that the walls are up, have you made all of your selections?
I should have, but I haven’t. Well, except for one.
I have decided on the crown molding for the kitchen, entry, downstairs entry, and bedroom. I could also do it in the bathroom, but I think it might be nice to do something else for the bathroom.
However, before we get into specific moulding selections, let’s look at what types and applications of mouldings we’ll need.
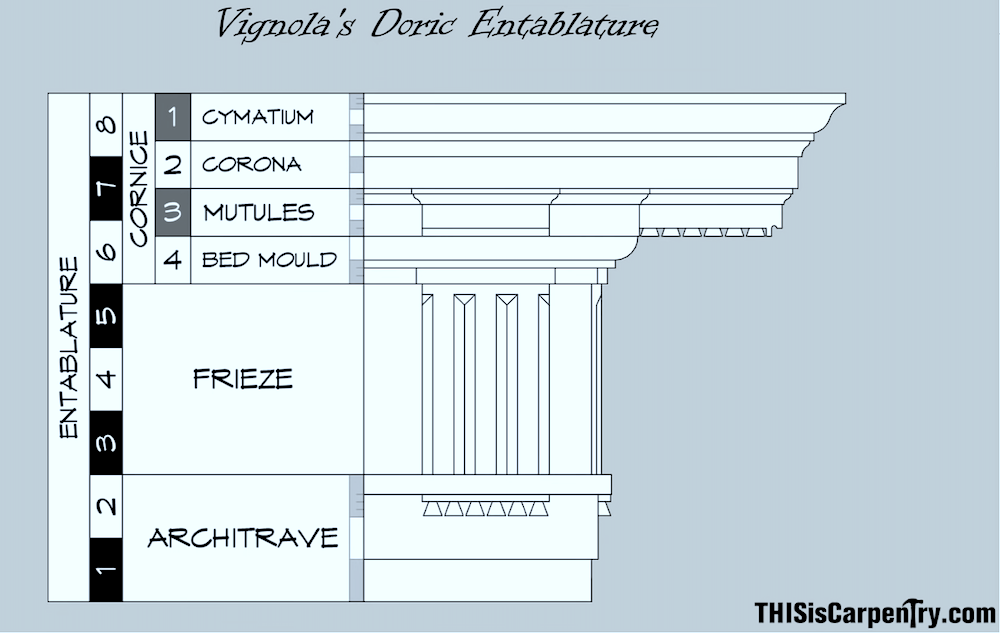
- Crown – Coving, Cornice
- Frieze
- Picture rail
- Door Casing
- Chair Rail
- Panel Moulding – May also be on the ceiling ( wainscoting )
- Baseboard – Skirting
Since this is a broad topic, I will need to break it down.
However.
The topic is so complex that breaking it down means talking about crown moulding alone for a month or more.
No worries. We’re not going to do that.
I’m going to hit the ones that demonstrate my objectives.
But, first, I want us to look at the UK’s The Coving Shop.
They have dozens of crown mouldings– in plaster and in the Victorian, Edwardian, and Art Deco styles.
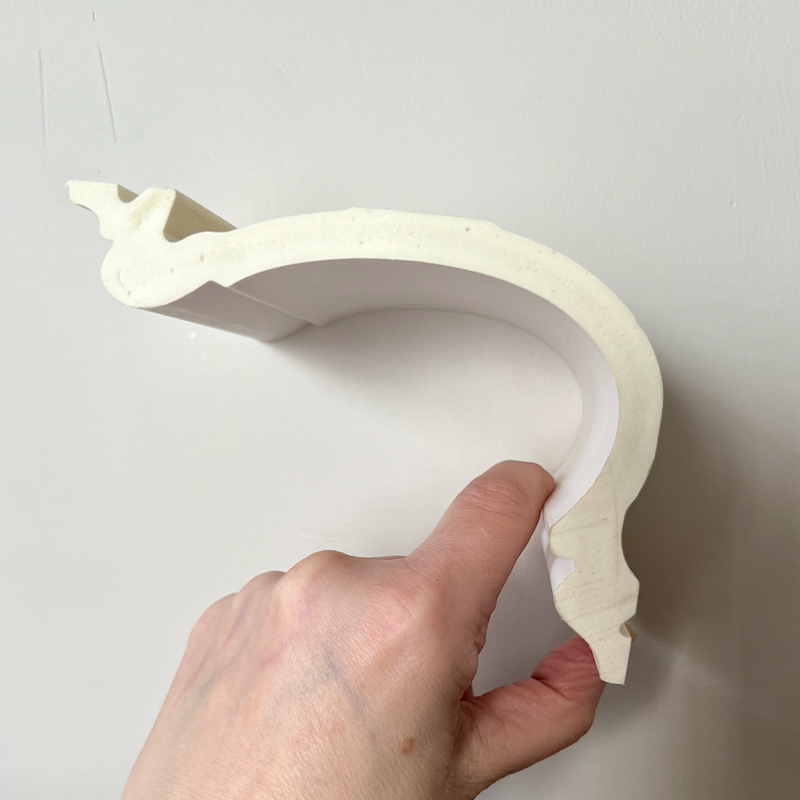
One of my favorites, I began to show you the other day.
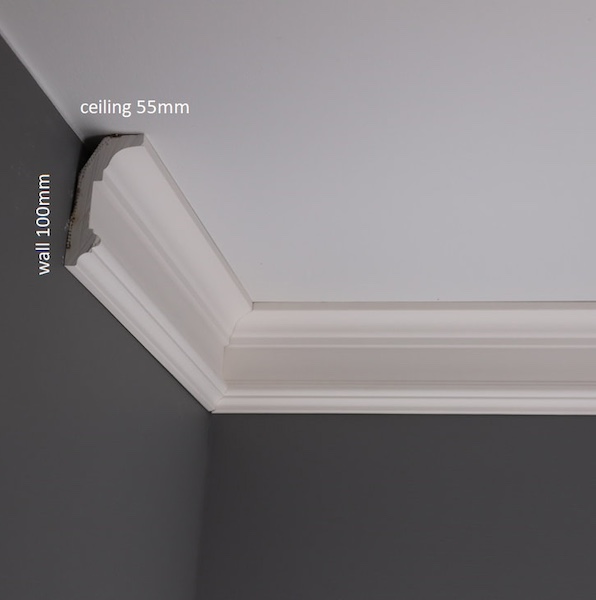
coving shop – plaster crown moulding
The beauty of this moulding is what happens when it’s applied with the flat part on the ceiling.
50mm is about two inches. So, it only comes down two inches down the wall, but it extends 4 inches over the ceiling. This gives the illusion that the ceiling is higher than it is.
Thus, this is a superb moulding choice for a lower ceiling height. Or, anywhere!
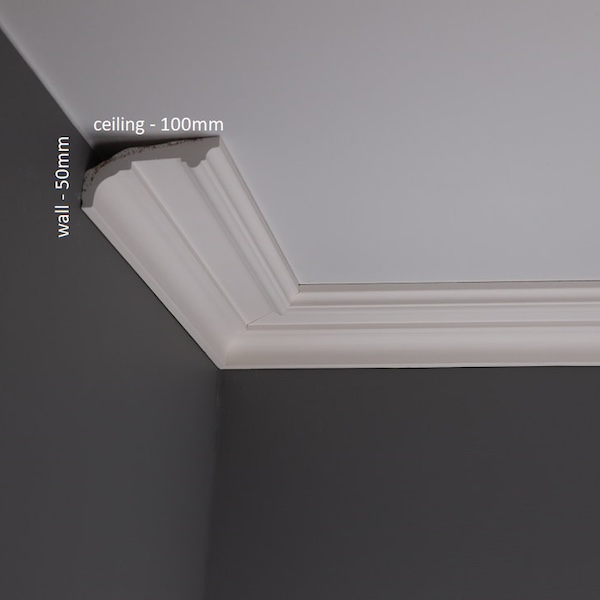
But, get this. You can get this moulding in the US from Orac Decor, a subsidiary of Outwater. Now, it’s not made from plaster, but rather Orac Decor’s Purotouch® A high-quality, high-density polyurethane that allows fine details.
There’s also a version that’s a bit larger. (below)
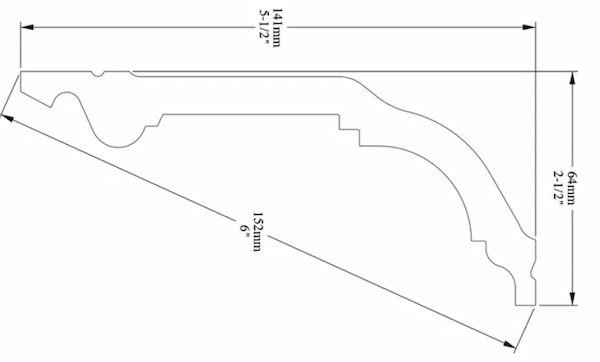
I ordered samples in November and just ordered some more.
These mouldings look like plaster, come primed, are ready to paint, and weigh next to nothing.
I would love to use this moulding for my vanity niche, shower, toilet alcove, and, if possible, the embrasured door ceiling surround.
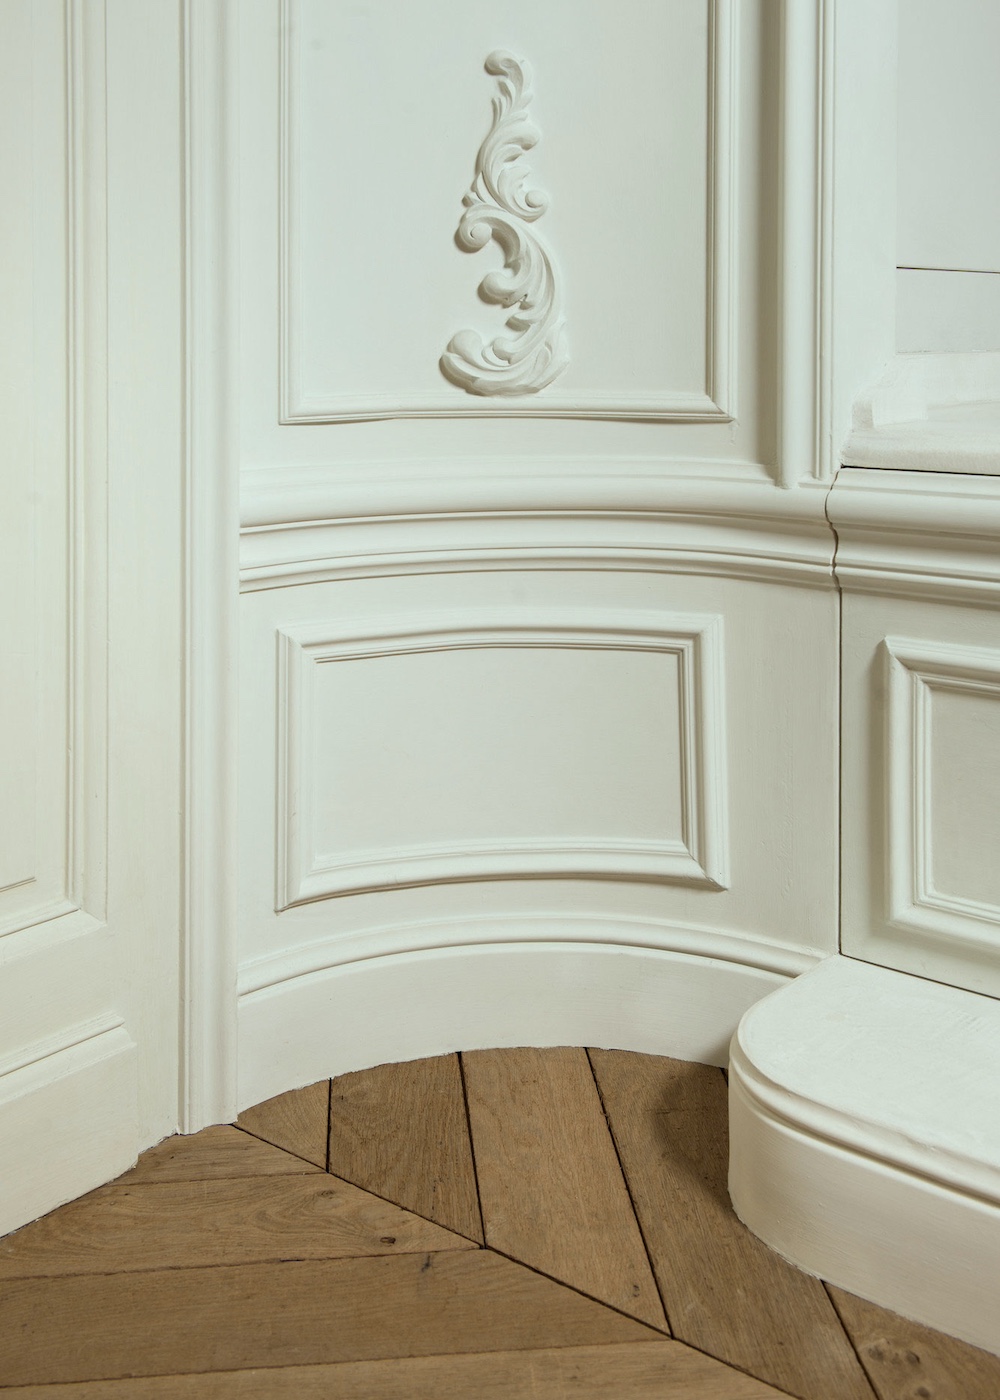
The lovely and simple cove below is a moulding selection I’m considering for the rest of the bathroom.
What’s funny is that this image is from a post from nearly three years ago. One thing I can say is I’m usually consistent!
I ordered samples of both, which will help me decide.
It’s okay. I have time. The guys are building the finish stairs.
And, as I said, we’re good to go for the main crown moulding for the kitchen/entry and most of the lower level.
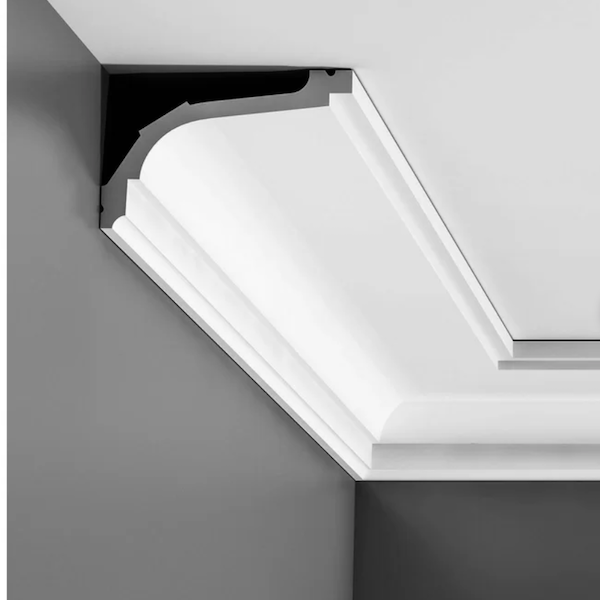
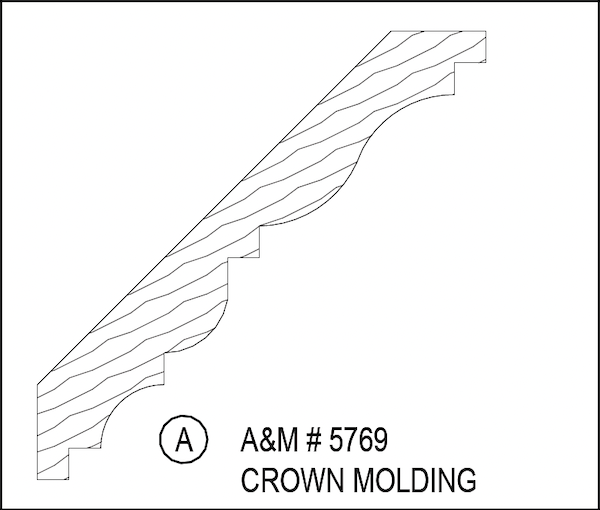
I haven’t found this exaggerated Victorian swan neck curve in a wood moulding. There are coves, but not like this.
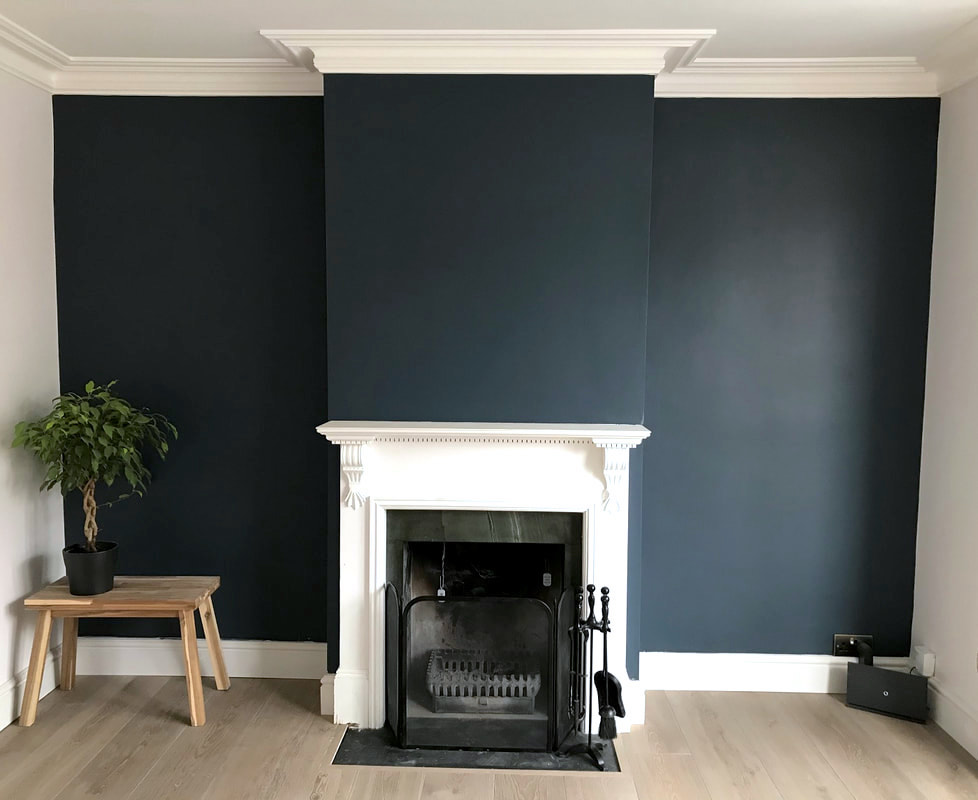
Above is an image shared a few times on the blog. The only difference between this one and mine is an additional bit of moulding on the ceiling. We will probably add that.
We can use panel moulding for that piece. Included is a perfect one and the other four crown moulding selections we looked at in the mini widget below.

There are dozens of sources in the UK. But, another terrific one is Plaster Ceiling Roses.
Laurel, you keep showing these traditional moulding selections. However, we have a mid-century home and modern sensibilities. What about us? Are we stuck with living in a plain box?
No, you aren’t. And, perhaps this is a separate post. However, one moulding I recently discovered would be stunning in a modern home.
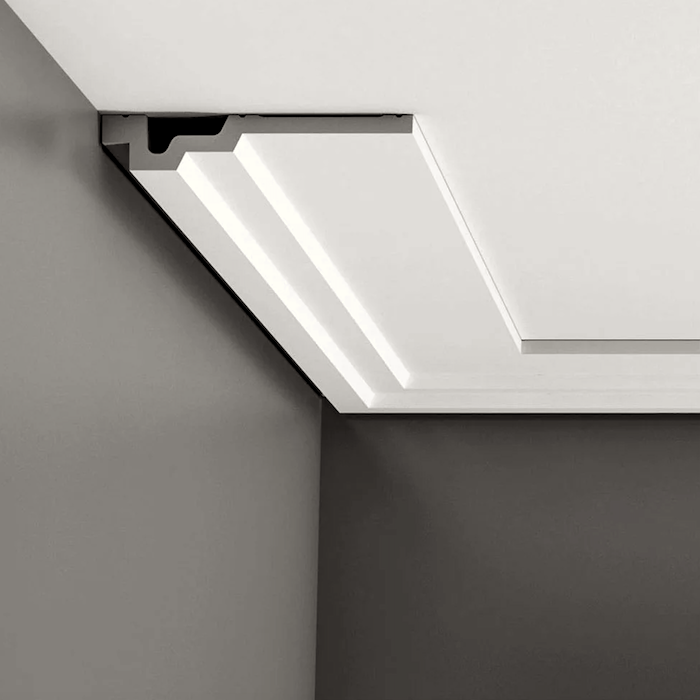
I realize it doesn’t look like much here. But, check out this other angle, below.
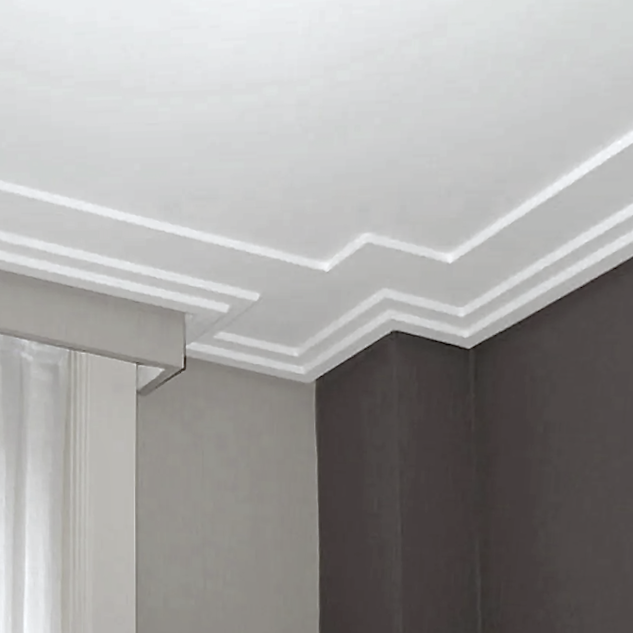
For other wonderful crown mouldings please check them out here.
Laurel, our crown moulding looks nothing like these. Is it wrong?
It’s probably fine.
My architect specified this moulding. There’s nothing wrong with it, but it’s not Victorian, and it’s a little longer on the wall than its projection onto the ceiling.
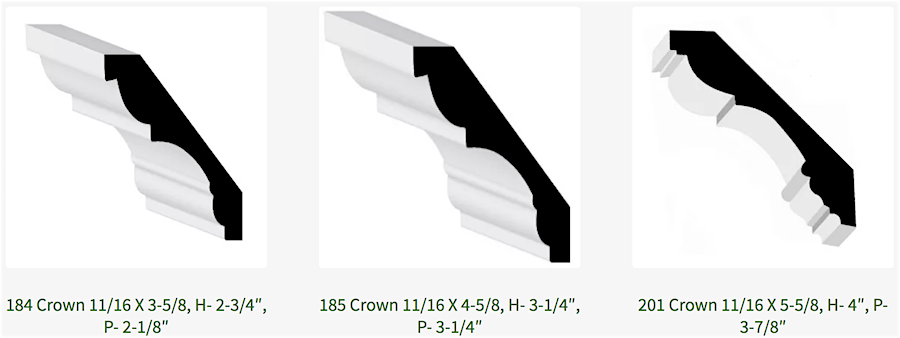
Above are three mouldings from Dyke’s Lumber. We did #185 in our NY townhouse in 1996, and I loved it. However, I want to do something more in keeping with 19th-century architecture.
Okay, let’s continue looking at the moulding selections, but next time, we’ll move on to panel trim, picture rails, and chair rails.
I did this moulding chart for best proportions.
A third post will focus on door (and window) casings, and baseboards.
Snow Day!!! Please stay safe.
xo,

*********************************************************
Part 2 Begins Here
Hi Everyone, let’s continue looking at our moulding selections.
Okay, with any luck, I’ll receive my new laptop today!
Laurel, where’s the bran muffin recipe?
lol – For those of you fellow bran muffin addicts aficionados, if you missed it, you can find the recipe here.
Please come back, though. We are continuing our discussion about architectural mouldings, sizes, types, and proportions.
Today, we’re going to look at:
- Picture rails
- Chair rails
- Panel moulding.
As for the placement of these elements, there is usually a range.
Now, this topic has already been discussed in this post about the correct proportions for applied wall mouldings. There, you’ll find a cheat sheet.
Also, please check out this older post about the no-fail for perfect architectural proportions.
Okay. A few of you had questions about picture mouldings, especially where they go.
For now, let’s exclude super-tall ceilings and focus on ceilings from 8′-10′.
The first consideration is, are you using it as a decoritive element only, or do you need it to hang pictures from?
The next consideration is how tall are your doors and windows?
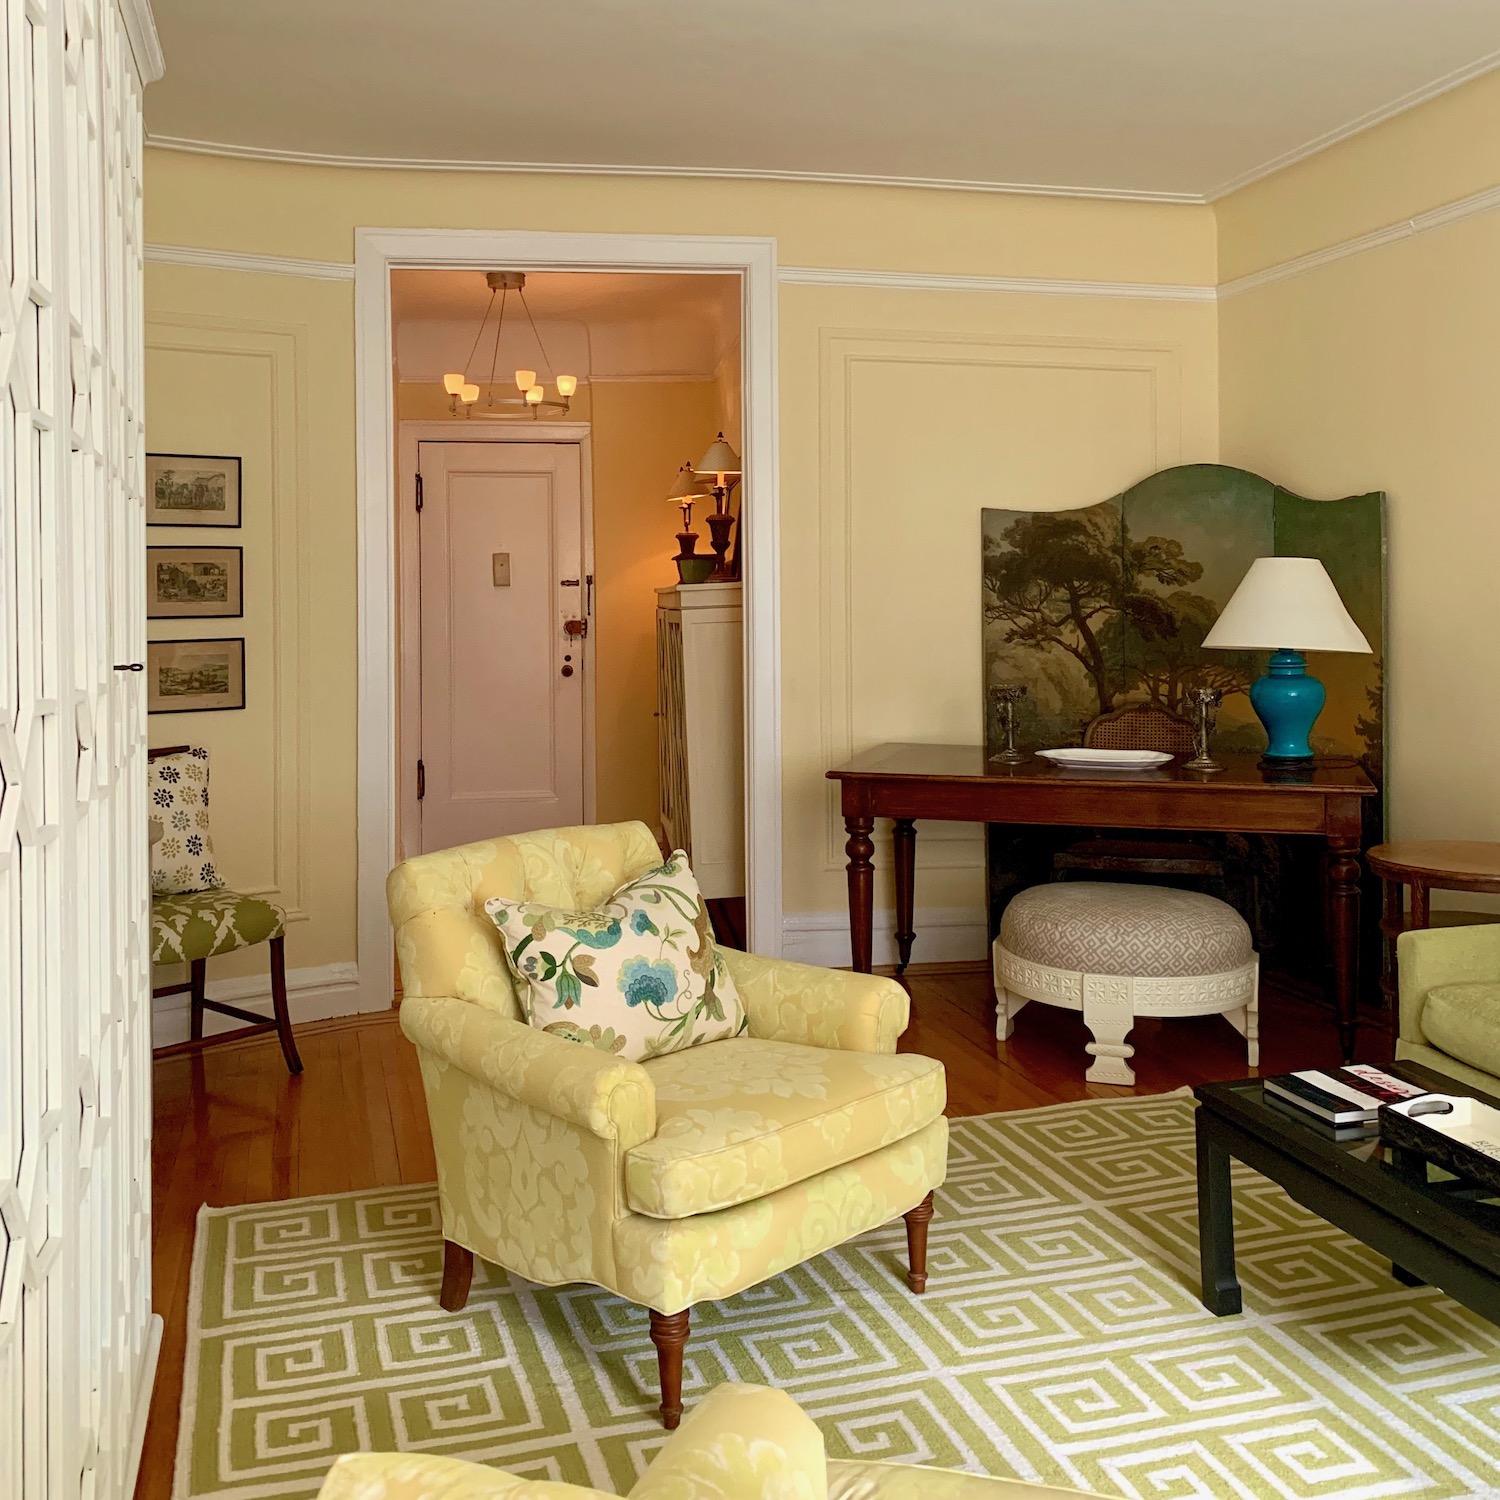
For example, my Bronxville apartment had only a cove and no actual crown moulding. The ceiling height was 9′, and the door and window frames were only about 6″-7″ below the ceiling height.
The picture moulding was about 4″ below the top of the door casing.
This photo is a great example of moulding on the ceiling that makes the ceiling appear higher than it is. However, the picture moulding was about 11″ below the ceiling height.
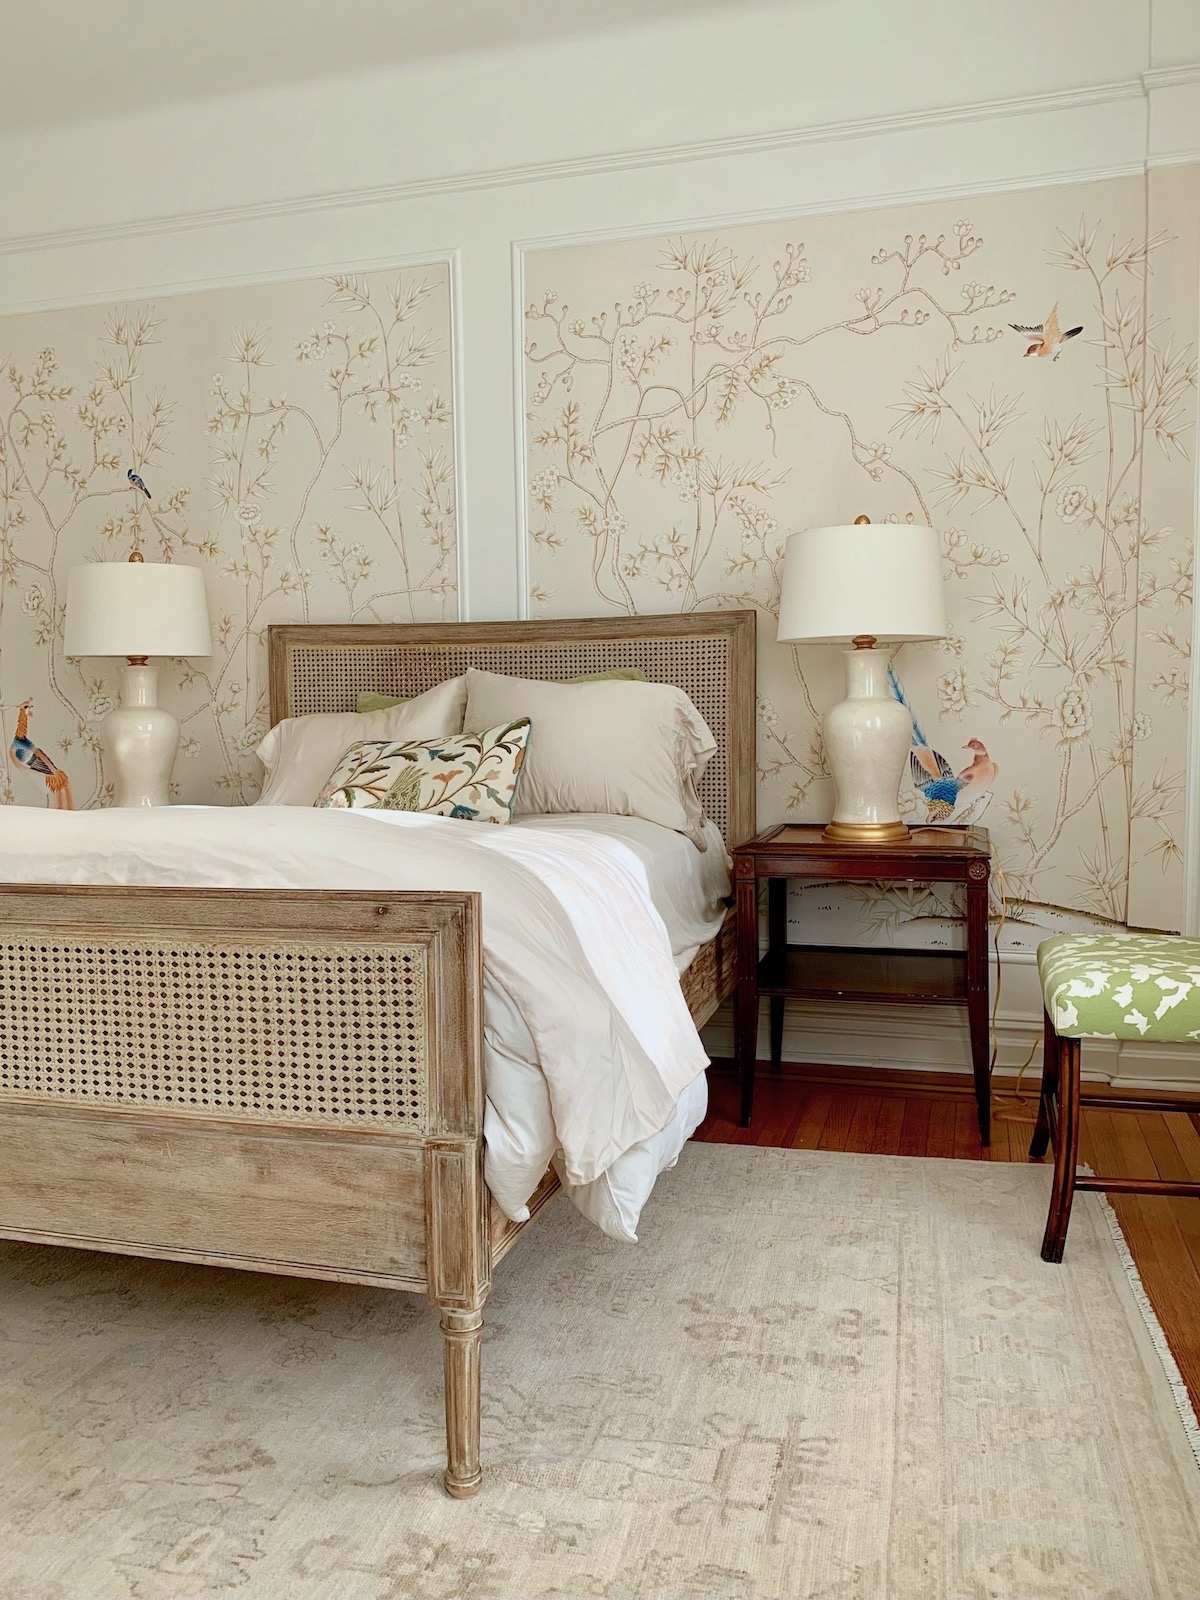
In the living room, the top was in line with the bottom of the casing. In the bedroom (below), the bottom of the picture moulding was lined up with the bottom of the casing.

However, it is possible that the doors were a little higher than the windows. No matter, either is fine.
I like to think of the picture moulding as the bottom of the frieze or, in classical terms, the top of the architrave.
However, this one, above, from This is Carpentry, is a bit fancy and has some extra parts. That links to a post by Brent Hull back in 2012. You might recall that he educated some of us, including me, when he shared some gorgeous embrasured doors.
The picture rail is usually about 10″-15″ below the ceiling.
However, it also depends on the crown and other elements. My best advice is to draw an elevation similar to this ( below) and see what looks best. You can also make a mock-up with the moulding samples.
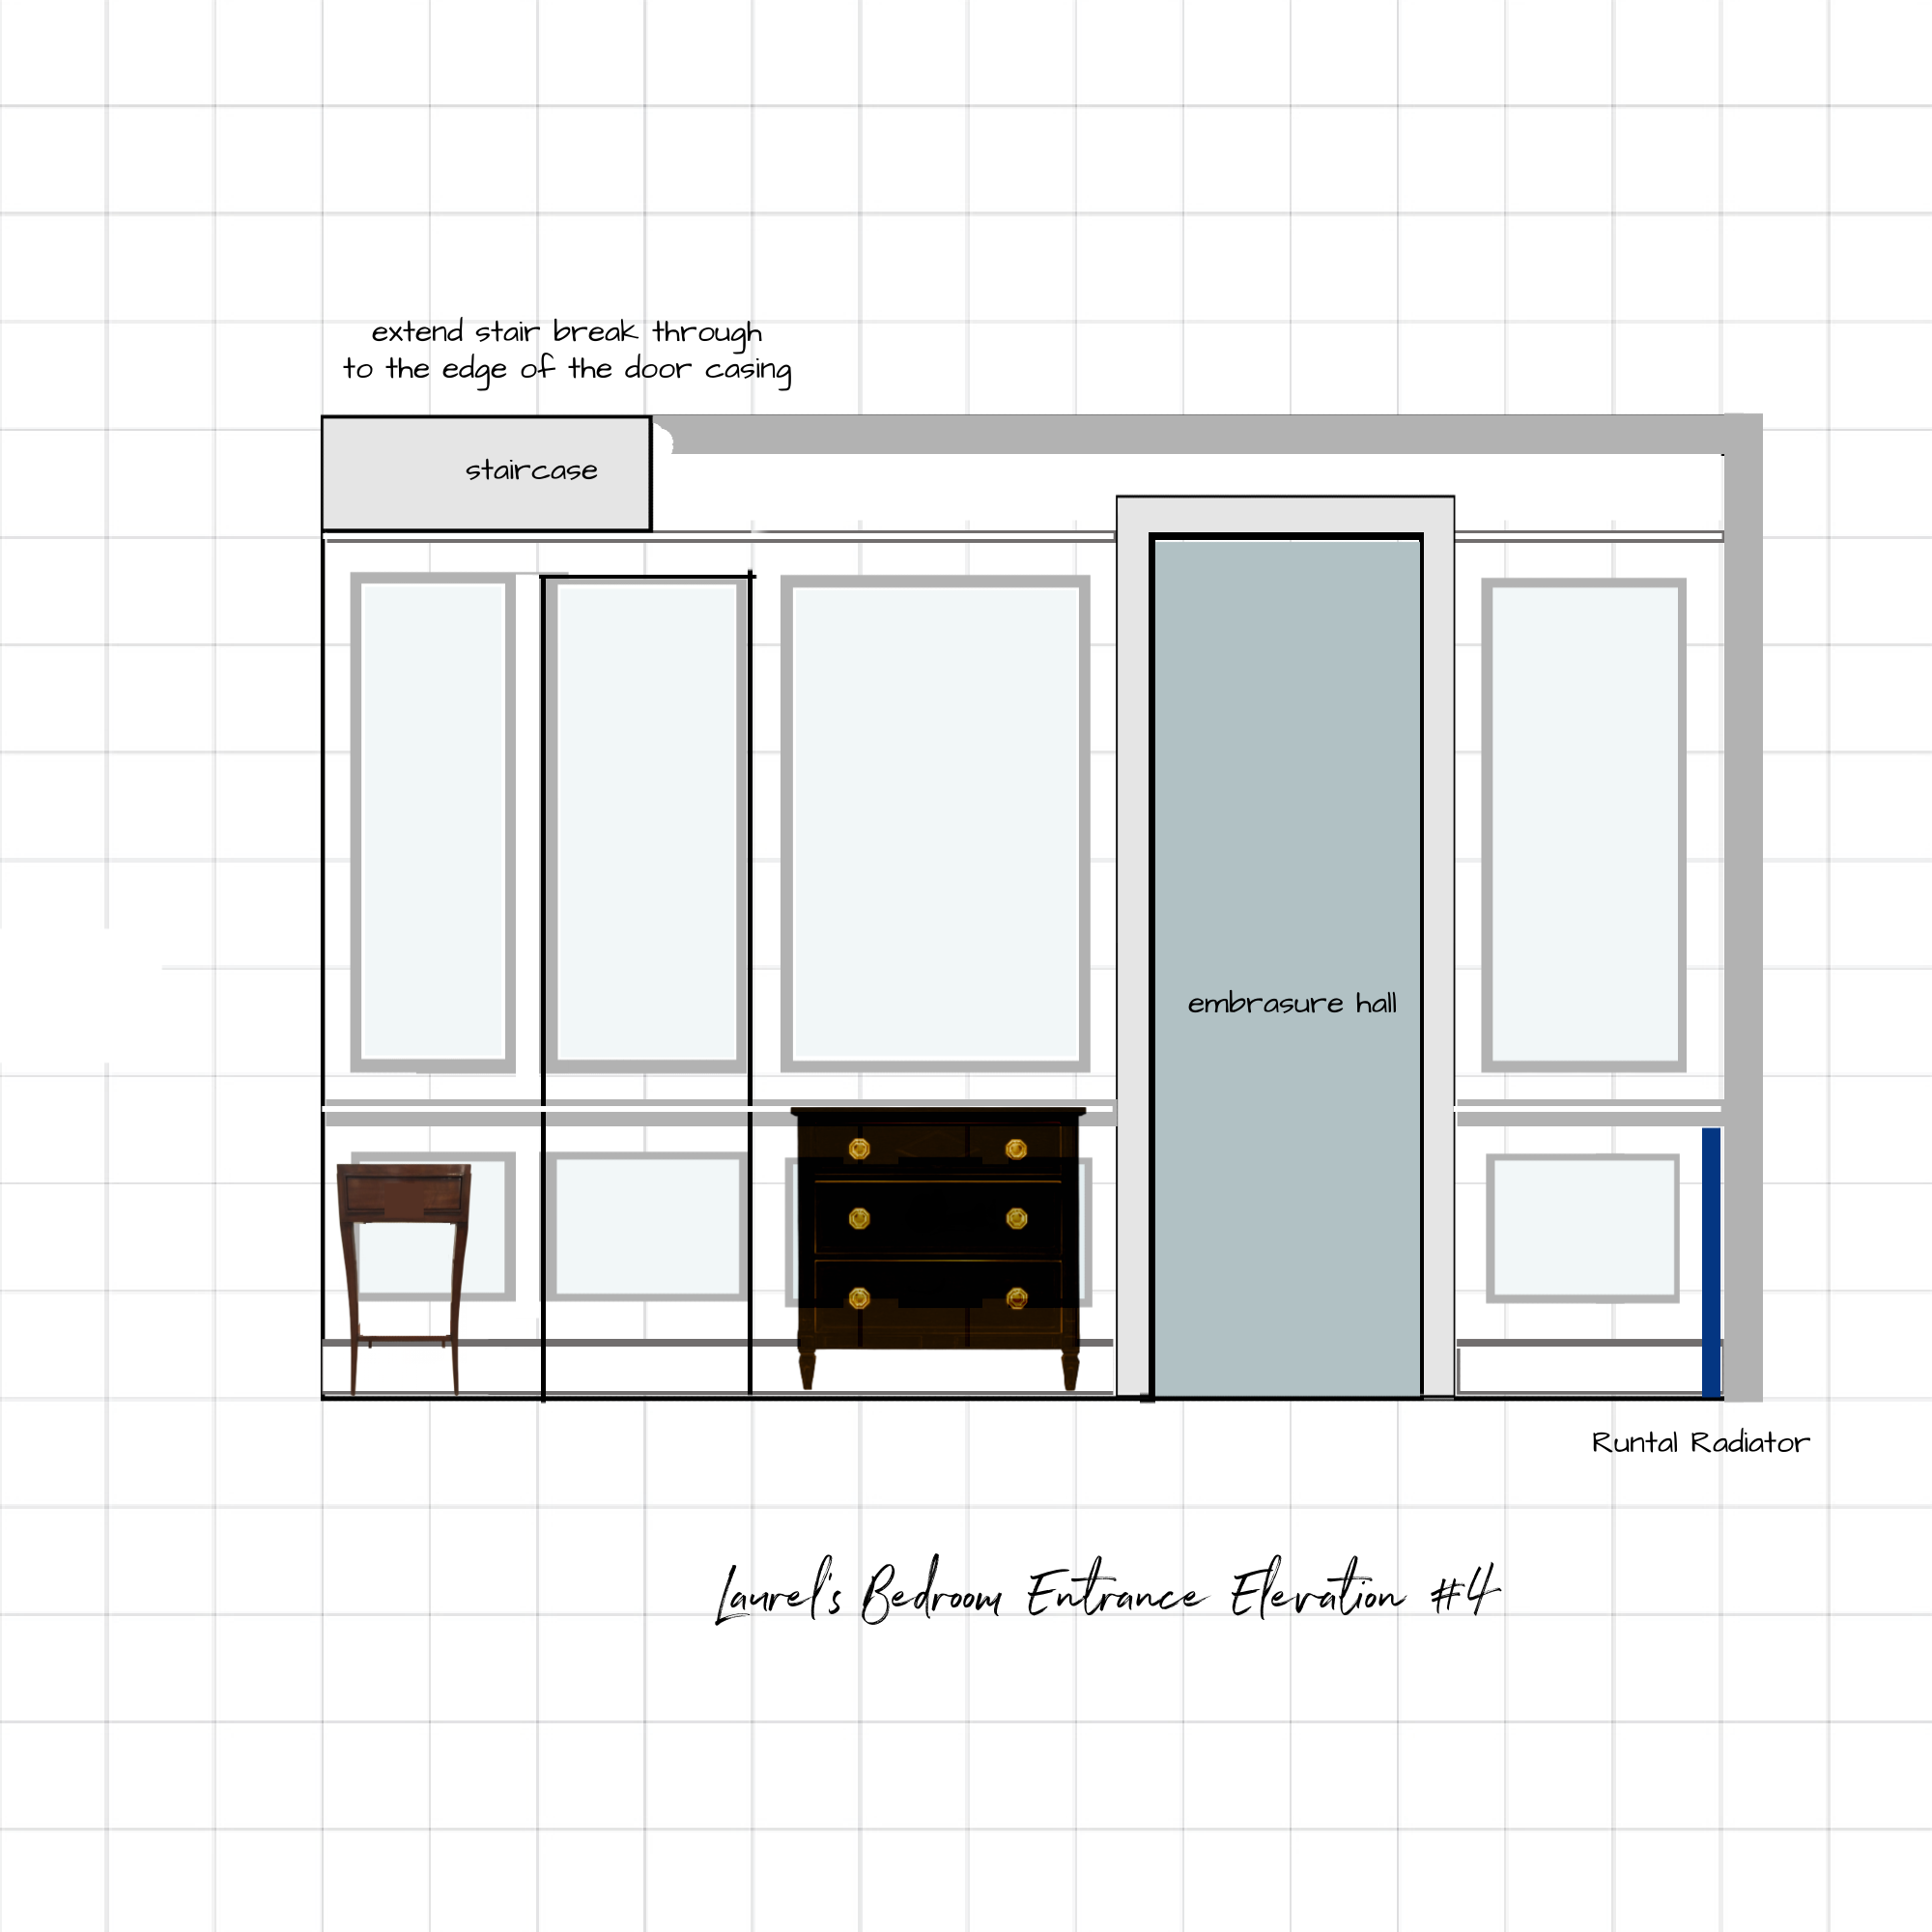
My drawing shows the placement of the various molding elements.
As for what moulding to use, a traditional picture moulding has a little reveal behind a bullnose to hook a painting onto. However, if you only use a picture moulding as a decorative element, you could use a regular panel moulding.
If you scroll back up, you’ll see that’s what they did in the Bronxville apartment. The only difference is that the picture moulding is a little bigger than the panel moulding, which I would do, too.
The next moulding is the chair rail. This wall moulding is the largest of them all.
The question is, how large?
Well, this is something I’ve spent decades studying, and here are my findings.
My ideal sized panel moulding is 1-1/4″ -1-3/8″ wide with a projection of 3/8″ – 5/8″
The largest panel moulding I would do is 1-5/8″. For some situations, down to about one inch or a little less are fine. I did a 7/8″ moulding on our old kitchen cabinet doors. Also, if you’re doing a double panel, the inner panel moulding should be a bit smaller.
A good size for a picture moulding is 1-5/8″ – 2.”
The size I like best for chair rails is from about 2.5″ – 3.5″ high.
If your ceiling is super high, do you use larger mouldings?
Not much; maybe a little. However, if your ceiling is only seven feet high, I would scale the mouldings down some.
Above is an example of some beefier mouldings from Orac Decor in a grand-looking interior. The panel moulding on the bottom is the P8030 which is 2-3/8″ wide.
The chair rail and baseboard can be larger (taller) in a room with a higher ceiling.
Where does the chair rail go?
Well, I wrote a post about wainscoting here.
It can be as low as two feet or two-thirds of the wall. The most common height is around 36″.
My wainscoting is currently 41″ high, and it has always felt too high. But, with all of the new things, it’s getting worse.
Okay, I have a little treat for you.
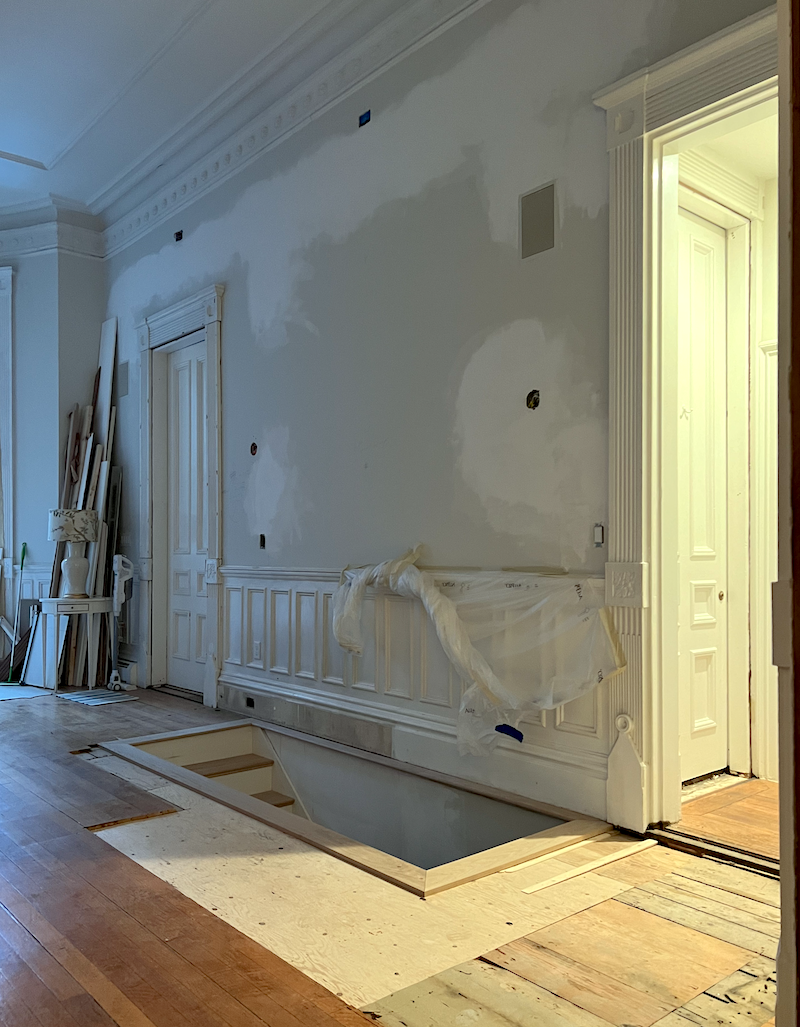
The completed stairwell. Tomorrow, the floor will be put in. Yes, the border will be flush.
However, let’s look at the wainscoting. I have always felt that the base was too tall (11″), the boxes too narrow, and too close together. The chair rail is too heavy, as is the top of the baseboard.
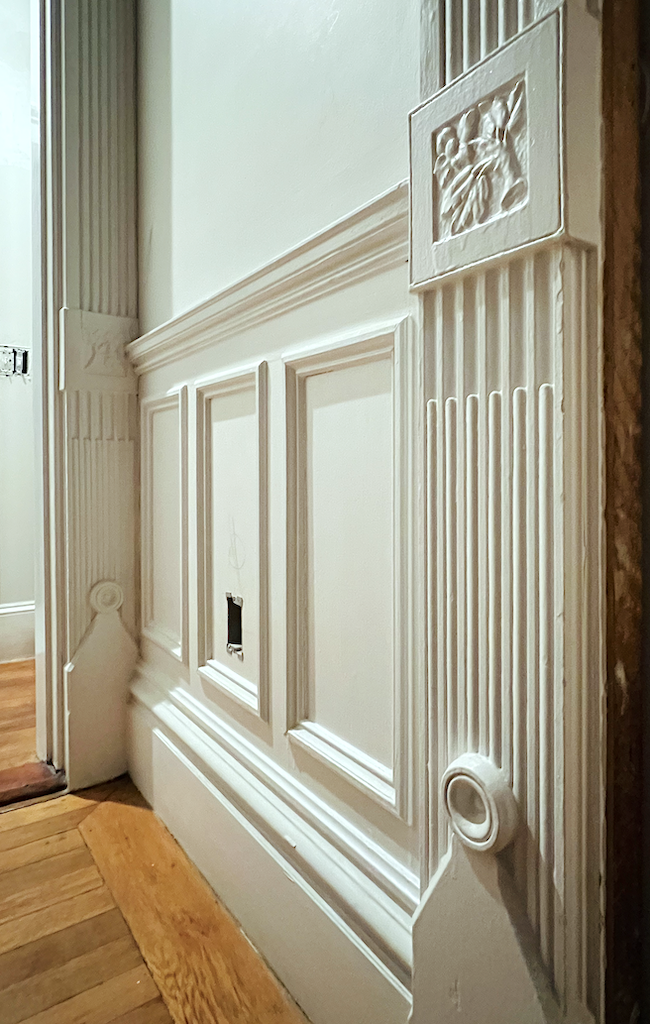
I will be doing some drawings for the new design.
Well, I have confirmation that my new laptop did make it to the UPS store on Newbury Street. I will go fetch it tomorrow.
I received notification in my email that it was delivered “to Boston,” and to Anonymous. Isn’t that hilarious?
My new Orac Decor samples were said to be delivered, also to Boston at the front door. At 7:20 this super rainy/windy evening. I returned at 8:15, and they weren’t there, or inside. I don’t think they’d be of much use to anyone. Me thinks they either didn’t deliver them or they went to the wrong house.
Still, I know what I’m doing now regarding the crown mouldings. I’m 97% set with everything else.
Today, I met with a super nice painter recommended by Robert who was enthusiastic.
Okay, tomorrow, I have to put together an order for the mouldings.
For Thursday, I’ll share the details. I may hold off on baseboards and casings until Sunday.
In the meantime, here are some favorites.
Below are some beautiful panel mouldings.
Below are some terrific picture mouldings and chair rails.
One thing I want to close with is that many mouldings are multi-purpose.
There’s also the possibility of mulitple mouldings used to create one moulding. I may do that with the living room baseboards if I re-do the wainscoting.
xo,
***Please check out the recently updated HOT SALES!
There is now an Amazon link on my home page and below. Thank you for the suggestion!
Please note that I have decided not to create a membership site. However, this website is very expensive to run. To provide this content, I rely on you, the kind readers of my blog, to use my affiliate links whenever possible for items you need and want. There is no extra charge to you. The vendor you’re purchasing from pays me a small commission.

To facilitate this, some readers have asked me to put
A link to Amazon.com is on my home page.
Please click the link before items go into your shopping cart. Some people save their purchases in their “save for later folder.” Then, if you remember, please come back and click my Amazon link, and then you’re free to place your orders. While most vendor links have a cookie that lasts a while, Amazon’s cookies only last up to 24 hours.
Thank you so much!
I very much appreciate your help and support!
Related Posts
 Interior Design Rules – Preview and questions
 Eight Years Later – Is HGTV Still Misleading Us?
 Bathroom Design Inspiration – Revisiting an Old Project
 Dark Bathrooms – Here’s What You Need To Know
 Indoor Air Pollution + Best Ways To Get Rid Of Dust & Soot
 Mismatched Sofas – Good Idea, Or A Colossal Mistake?
 Painted Wood Furniture – Cringe Worthy, Dated, or What?


7 Responses
I think Google saw me reading this post, because the top suggested video on youtube was a DIY family room makeover featuring added moulding and trim. But the designer/homeowner installed panel frames whose sizes were based on the empty wall space around her giant TV, no crown moulding, plain window casings. Very odd combination.
Well, you were a lovely brunette and I am sure you are lovely as a honey blonde.
Your moulding posts are always amongst my favorites. Love your blog and love being able to follow your renovation.
This is off topic, but did you say you are no longer a brunette? My curiosity is piqued.
Hi Jayne,
I would say I’m a honey blond now. The grayer I get, the more blond I get. lol
Why not just be gray? I am very fair and gray isn’t a good look for me. My skin tone needs the warmth.
Looking forward to the post with picture rails. Our home was rebuilt after a fire in 1915 but on a smaller scale than the original. It has picture rails and I love them. So much easier than putting holes in plaster and lathe. If possible, could you address the space needed between picture rails and crown molding? Thanks for all your posts.
I’ve been thinking about having crown installed in my bedroom. This post comes at a great time. I would hate to spend all that money only to get it wrong.
Finding a finish carpenter is the next challenge.
I hope you don’t get too much snow. Stay safe.
This brings back memories that may be helpful for others. Ten years ago, our cabinet maker reproduced crown moldings for our parlor and new kitchen to match the original crown moldings in the rest of the house. As I recall, he had a router bit made to match the curves of the original molding. Surprisingly, it wasn’t all that expensive to have the bit made and to have him mill the moldings. As I recall, we were charged about $150 for the milling setup. Certainly a lot less money than replacing all the molding in the adjacent rooms. Our moldings are wood, of course. And of course, there has been a lot of inflation since then.