Hi Everyone,
Before I get into the Bay Window Treatments, I want/need to say that the 333 Hard To Find Rules & Tips Guide is complete.
If you don’t care to hear any more about the new guide, please skip to here. *
I couldn’t be more proud of it. And, one thing I really love is that many of these rules, you won’t find anywhere else. For instance, I figured out the formula for what size lantern to get. And, there’s a glossary of dozens of window treatment terms. And, so much more! In fact, I’ve updated this post to explain about more of what’s in the guide.
If you have Part I, you should have received a new and complete guide by now. (It will say Complete Guide on the cover)
NOTE: If you have not yet received your guide, please check your spam folder before contacting me. It is probably there. OR, you’re staring at it and don’t realize what it is. You’ll get an email from Sendowl my shopping cart.
And, it’ll say “An Updated Version of…” That will depend on if you purchased only the rules guide or received it as part of bundle with other products. You will probably get those again too.
*Okay, let’s get into the bay window treatments. Many of you are stumped.
Actually, most of the time, I feel that bay windows are pretty straight-forward, however, there are two situations that sometimes cause some confusion.
1) When there is either a deep window sill and/or window seat, or radiator under the bay window.
2) When there is a soffit in front of the bay window.
3) Both 1 and 2
Okay, here’s what I think.
My first thought regarding any kind of difficult bay windows or any difficult windows for that matter.
If you don’t need privacy and/or light control, consider doing nothing.
Yes, that’s right. Nothing.
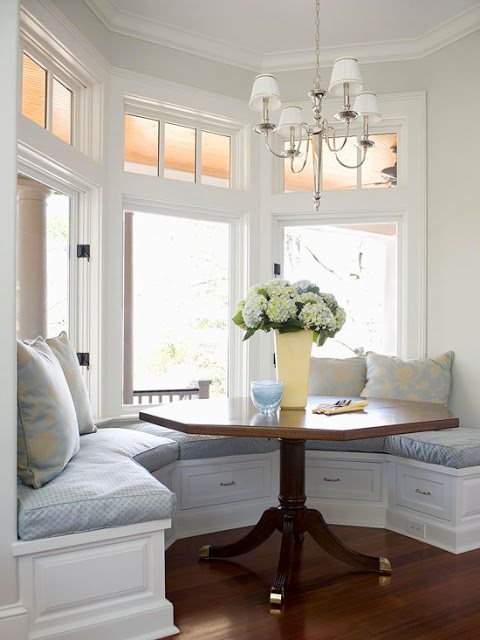
via BHG
Something I have seen over the years is folks putting up something, just because they don’t want to see a neked window. Or, they’ve been brainwashed into thinking that there MUST be something on the window.
Contrary to what some people believe to be “traditional,” windows from the 18th century frequently had no window treatment or the simplest of window treatments. You never saw some of the heavy, elaborate swag thingajobbies you see these days.
Although, I don’t see these as often now.
One thing I really and truly disdain when it comes to Bay window treatments is something like this.
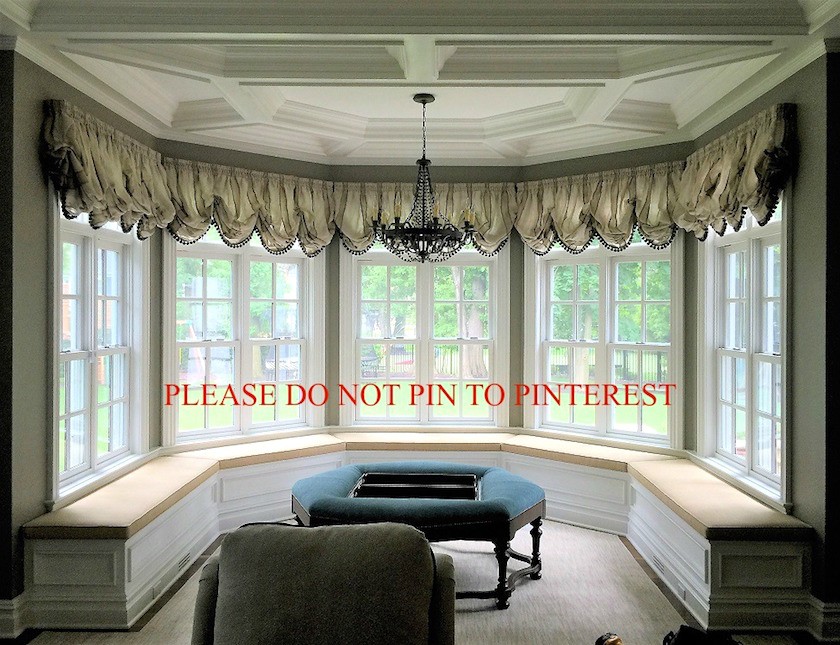
We saw this image earlier when talking about the styles of window treatments. So, if you take a look at that post, you’ll see clearly some of what I’m talking about.
So, let’s say that we need light control and/or privacy for our bay window with a window seat. What are our choices?
- A simple roller shade that’s up when you don’t need it and down when you do.
- Roman Shades
- Curtains
Wait, Laurel. You can do curtains? I thought you said somewhere not to do curtains if there’s a window seat.
I might have. And, it’s still not my first choice. But, I did find an image where I think they look nice.
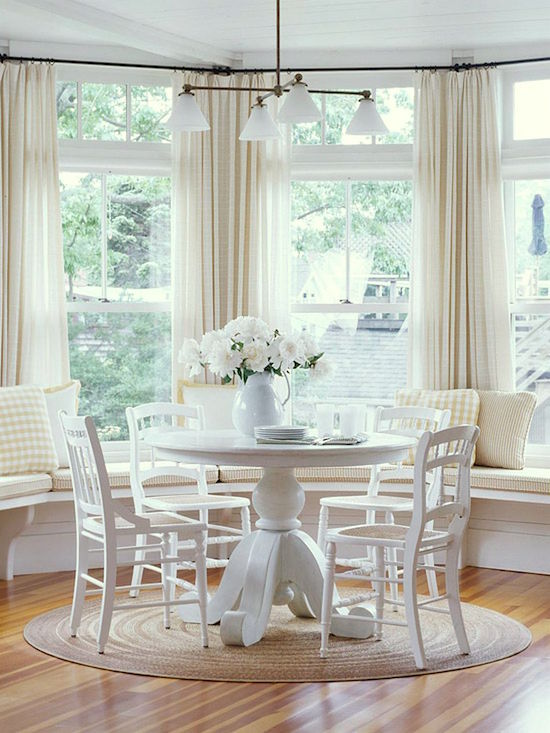 Via BHG
These sheers look lovely in this situation. Maybe because there’s a table in front of a banquette?
As an aside, I’m having a problem with some other things, however. The table is too small for the window seat. I mean, if you’re going to have a window seat, then why is there a chair in front of it?
And, the rug is too small, as well.
But, we have a nice high ceiling and gorgeous windows with float-y curtains. That part is really well-done, I think. And, I love the window seat, too.
So, the final window treatment solution for bay windows with a window seat are Roman Shades.
Or, it could also be a wood or natural fiber blind.
Please see this post about Roman Shades.
And, this post about woven wood blinds.
If doing a shade or a blind, we have two choices when it comes to installation
Inside mount which means inside the window jam.
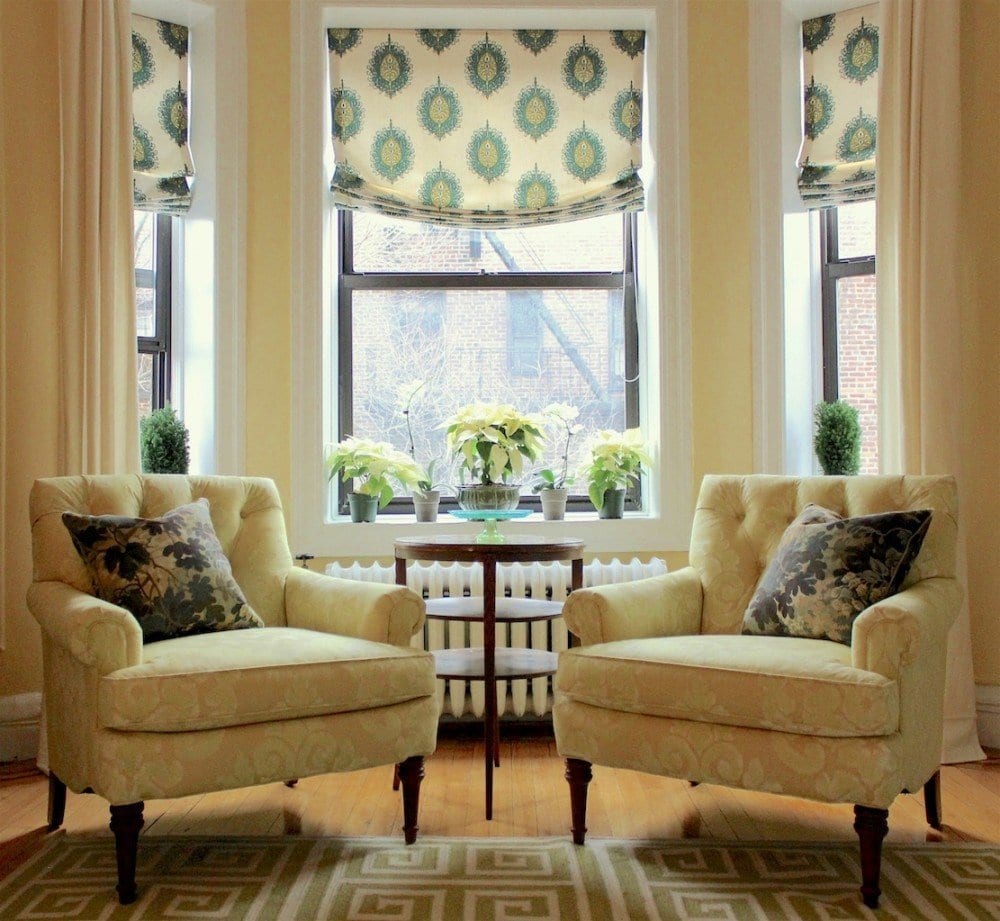
My living room taken exactly 4 years ago – with inside mount Roman Shades. Still loves these 6.5 years later.
But, sometimes there isn’t a window jam. There’s just a plastic window.
Then, we have to do outside mount.
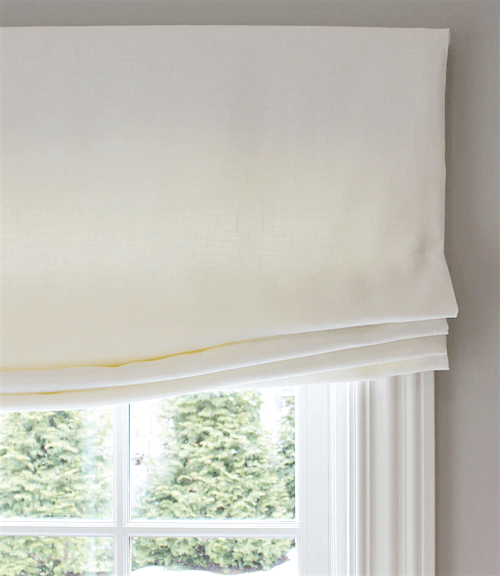
Lynn Chalk – relaxed Roman Shade outside mount
However, measuring for outside mount Roman shades on a bay window can get a novice decorator in big trouble.
You go to measure. Like a typical window, you measure the length of the how far you want the window shade to go. You make a little pencil mark and you measure the middle window and then the right window.
Why is this a problem?
It’s a problem because your Roman Shade is always mounted on a board which means that there’s going to be a projection.
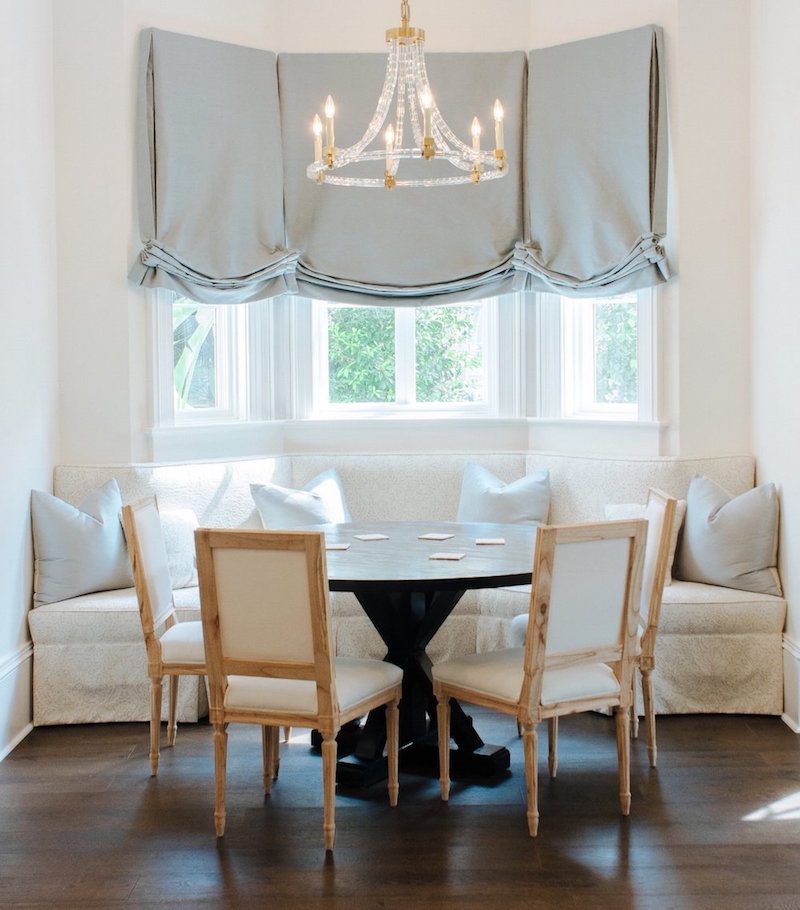
Design Loves Detail found on Ave Home
Above in this elegant room, you can see the side of the board. Sometimes the board runs the opposite way. You need to be covered. And, you need to know the projection of that board.
And, what that means in plain English is that the measurement at the front of the board is not the same measurement as it is against the window. Thus, if you use the window measurement, your boards are going to collide.
The only solution is to have the end shades hang past the window frame. And it might be by a couple of inches. If your window casing (trim) is at the edge of the wall, your end shades are going to hang over the edge and into space.
Uh, oh.
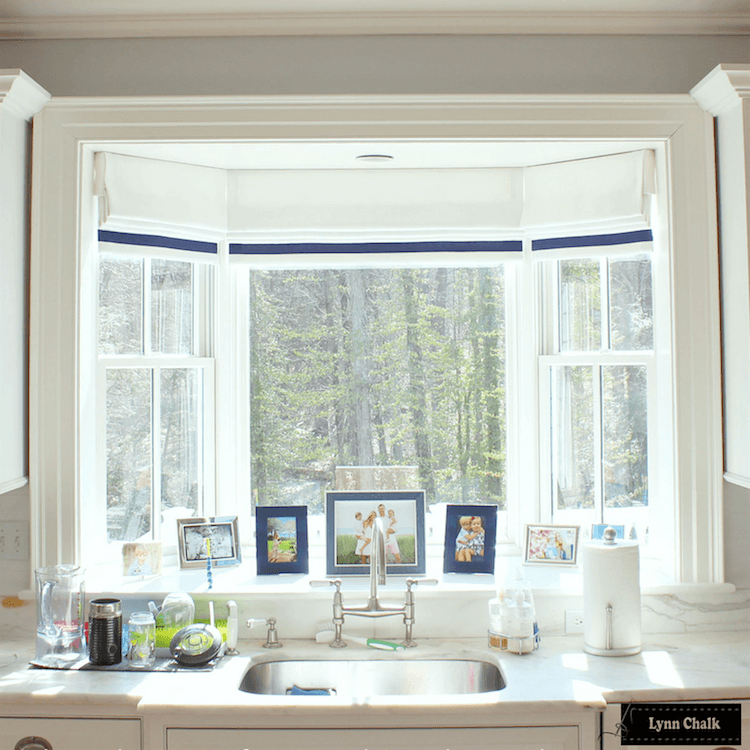
In addition, of course, there’s an angle to your Bay Window. But, the window treatments above are a perfect example of what I’m talking about.
Now, I was considering teasing you by telling you that it’s in the new guide. (and, it is!)
But, that would be mean, not to include it here too.
Very manipulative, that would be.
And, I know that would make me not very happy if someone did that to me. Of course, I want you to get the new guide, as well. But, I also want you to not get mad at me.
So, I’m going to tell you the super-duper easy way to figure how big each shade needs to be.
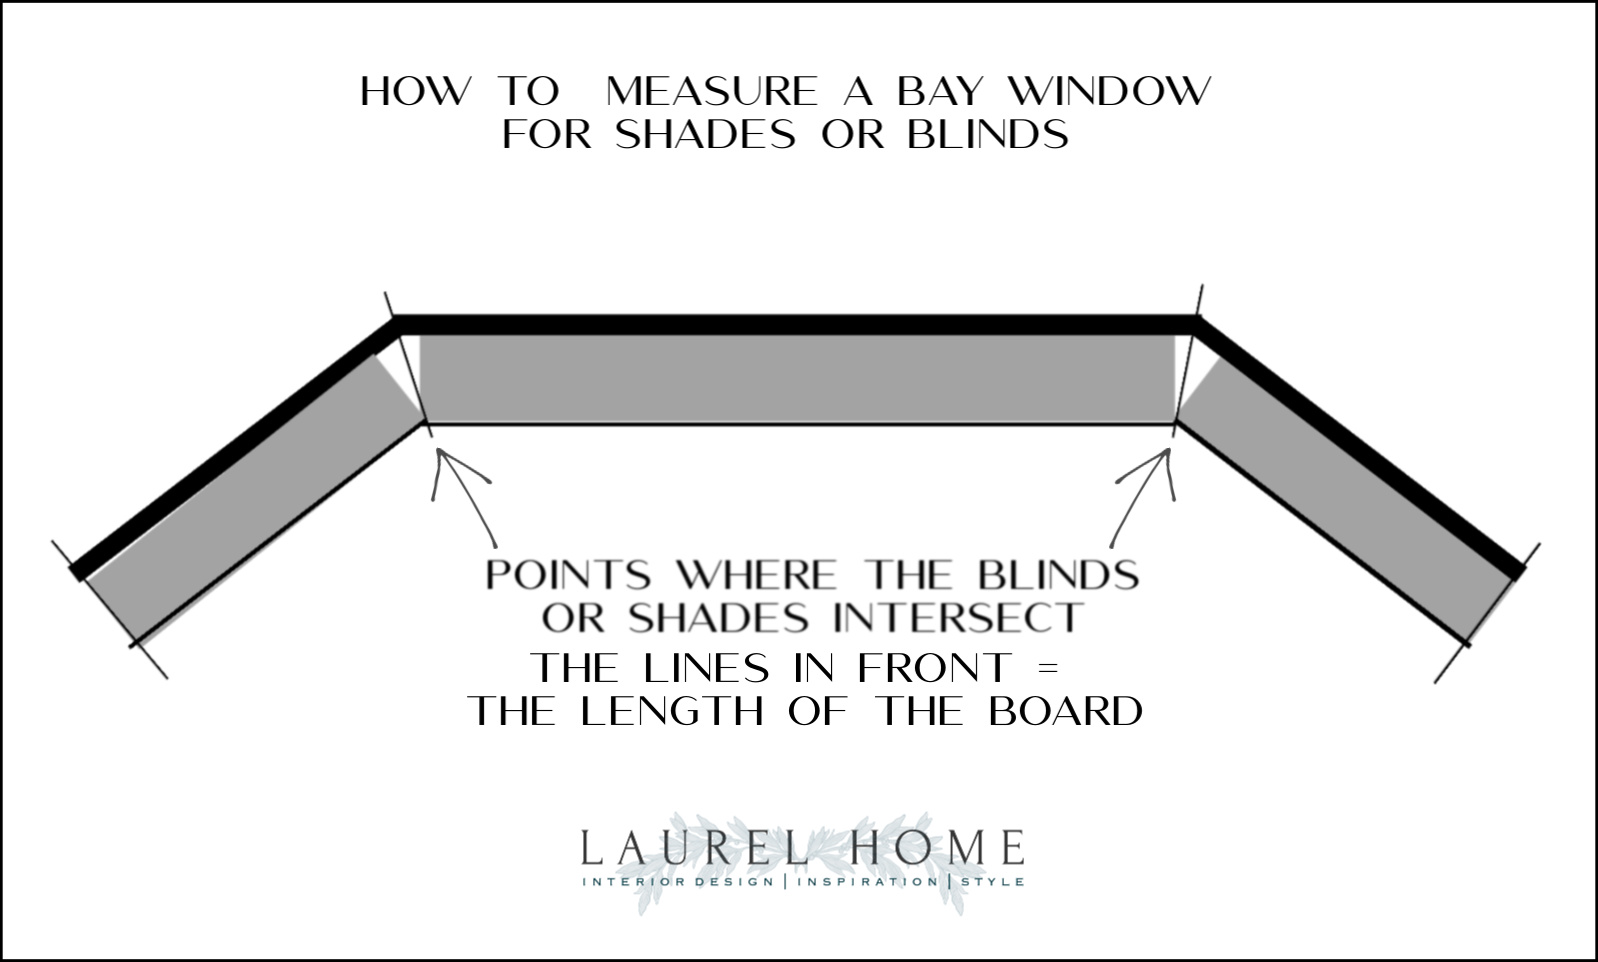
Above is a graphic representation of what I’m talking about.
But, here’s the trick to get the correct measurement.
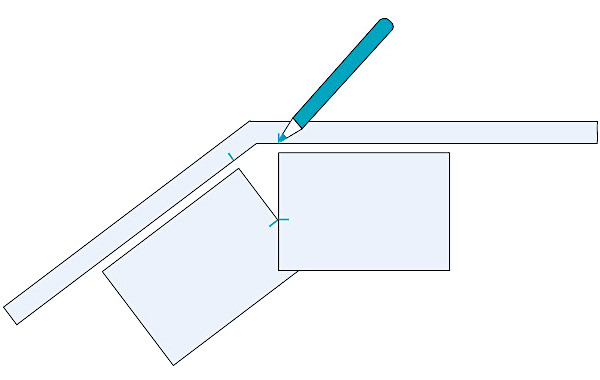
Take two index cards or some other heavy paper. Mark the depth of the board. Make a pencil mark on the sill. Do that all the way around. The measurements between the two marks will be the correct width each board needs to be.
What if you’re doing a rod for a bay window.
Can you do three separate rods?
Well, you could, but I probably wouldn’t.
These days they do make rods that are adjustable. Very clever idea!
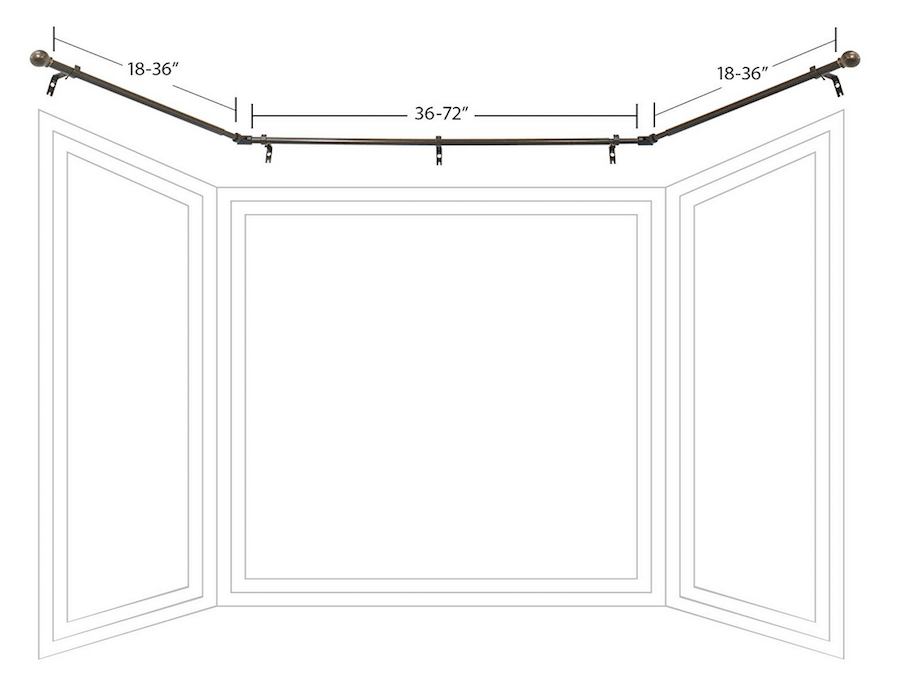
Decopolitan Drapery Bay Window Curtain Rod Set, Oil Rubbed Bronze – extension rod
However, I’m not sure how strong they are. I’m sure they would be fine for something light-weight. Oh, and they are showing those horrid rings with the clips. I don’t understand those. 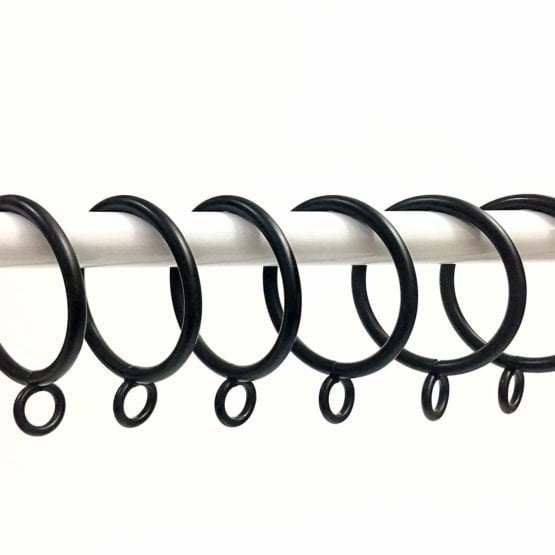 Jocon drapery curtain rings eyelets 1 inch inner diameter
But, if you want something nicer, it’ll need to be custom. They will still probably make it in sections that screw together, if it’s a large window.
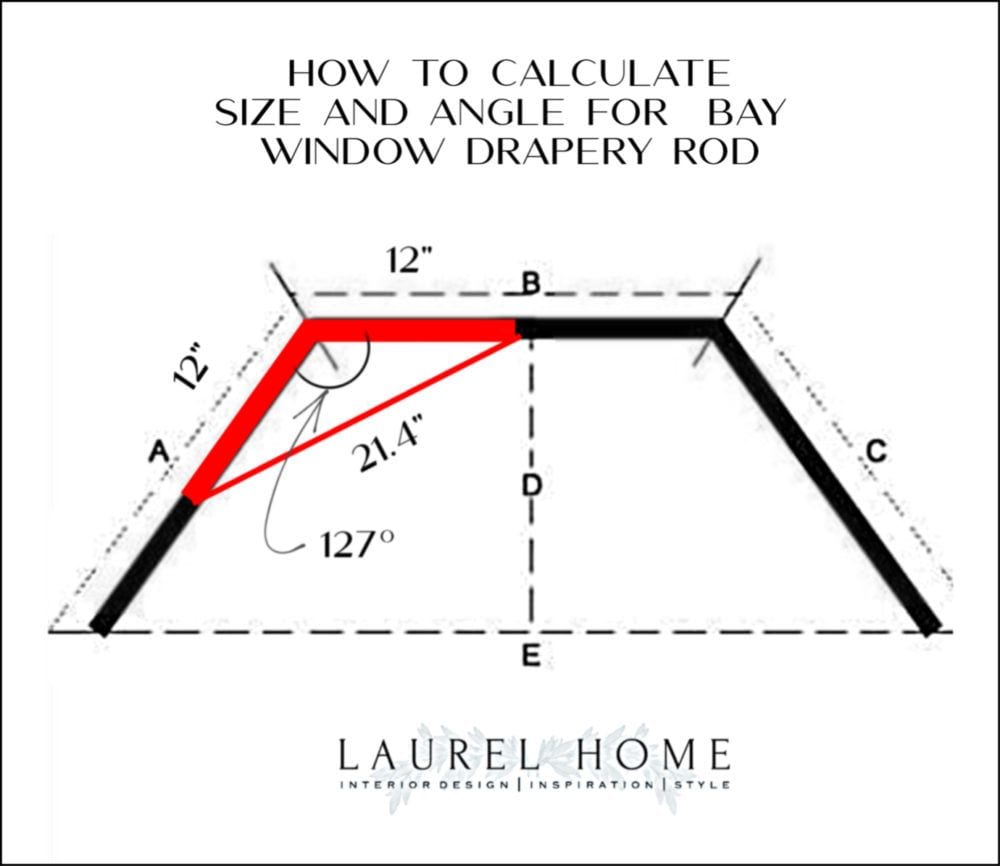
You can use pretty much the same method to figure out the sizes when doing a custom curtain rod for a bay window.
- Measure the length of each window panel A, B, and C, including stackback allowance. (Stackback allowance is usually about 12″ per drapery panel)
- Measure the total depth D of the window from the front to the middle of the central window pane.
- Measure the total width E of the window from left to right.
Your workroom should be able to figure out the angle, but so can you.
Do as indicated measuring 12″ along the two angles and then measure the distance between the two end points. Below is a triangle calculater. However, if you do it on picmonkey, it’ll give you the angle. It said 27 degrees, and the calculator said 127, so forgive me, math wasn’t my strongest subject. But, it’s 127 degrees in this case.
In addition, once you figure this out, it wouldn’t hurt to actually make a template.
Oh, I know, it’s a total pain in the butt. But so is ordering a custom rod and not having it fit. Just tape together enough pieces of newspaper and use a yardstick to make your lines.
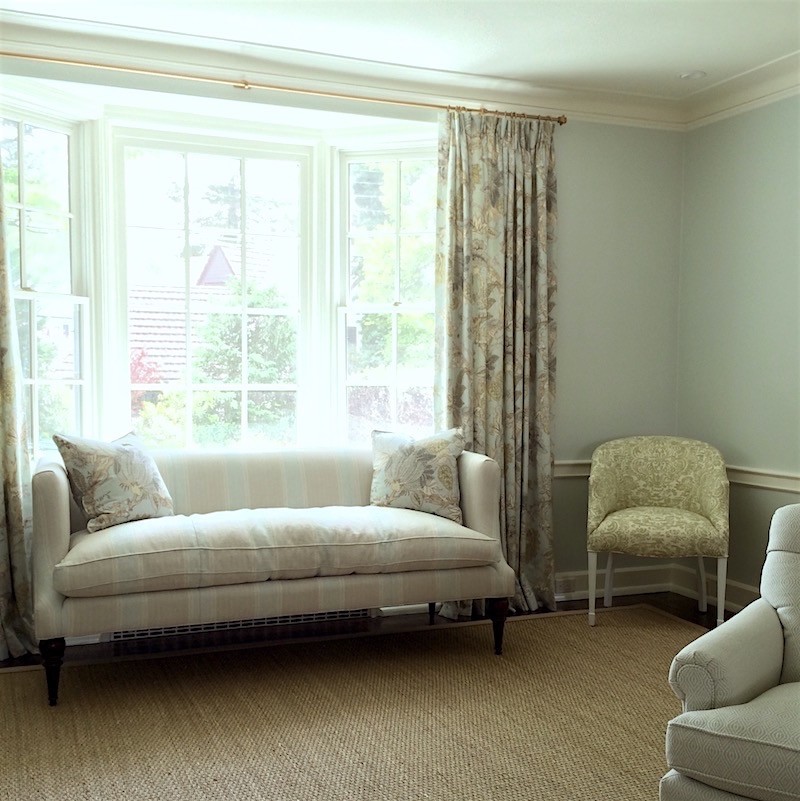
If there’s a soffit over the bay window and it’s an 8 foot ceiling, and I wish to do drapes, I’ll prefer to mount the drapes outside as we did in this living room, above.
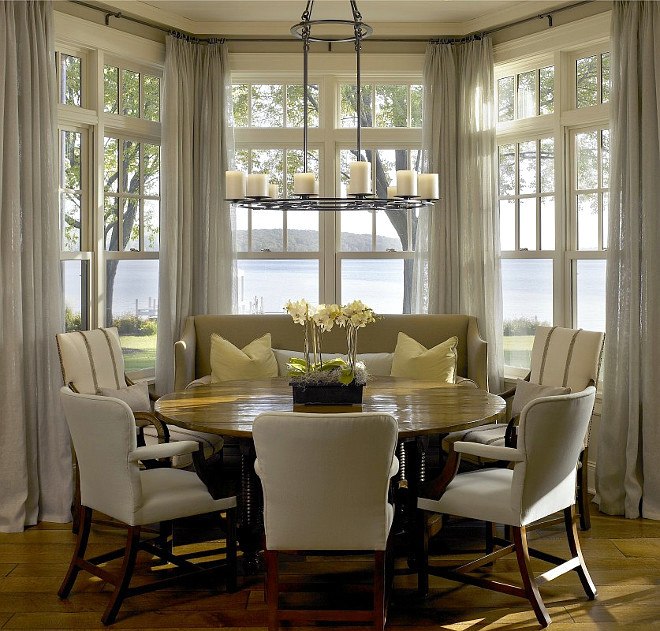
Who doesn’t adore this wonderful lake house by Hickman Design Associates! Everything about this vignette is perfection, IMO. It looks like these lovely sheers were hung underneath the soffit. So, what’s the difference? The difference is that those are super large windows with transoms and so must already be at least 9 feet high to the top of the curtain rod.

Julia Goodwin Design on Instagram
photo @laeiou – bay window – curtain rod – Pottery Barn

Pottery Barn Standard curtain rod collection
As you can see it comes in a bunch of finishes. And, they have a connector to use for bay windows.
So, there it is. Some of my favorite window treatments for bay windows and how to measure for Roman shades and custom drapery rods that will fit perfectly.
xo,

PS: Please check out the newly updated hot sales and holiday shop. There is still time to order gifts in time for Christmas.
In addition, please check out the new and complete Rules Guide, just out. If you’d like to know more about it, click here.
Related Posts
 The Best No Fail Benjamin Moore Gray Bathroom Colors
 22 Living Room Lighting Rules You Need To Know
 My Top 20 Best Shades of White Paint
 9 Gorgeous Benjamin Moore Cool Gray Paint Colors
 The Open Concept Bathroom – Holy Crap Is Right!
 21 Common and Hideous Interior Design Mistakes
 How To Hide The TV 20 Elegant and Clever Solutions


