Happy Friday all! I just returned from a window treatment installation– helping the installers with hanging draperies.

And now, I’ve come down with a massive Excedrin Headache. Am I dating myself there? :]
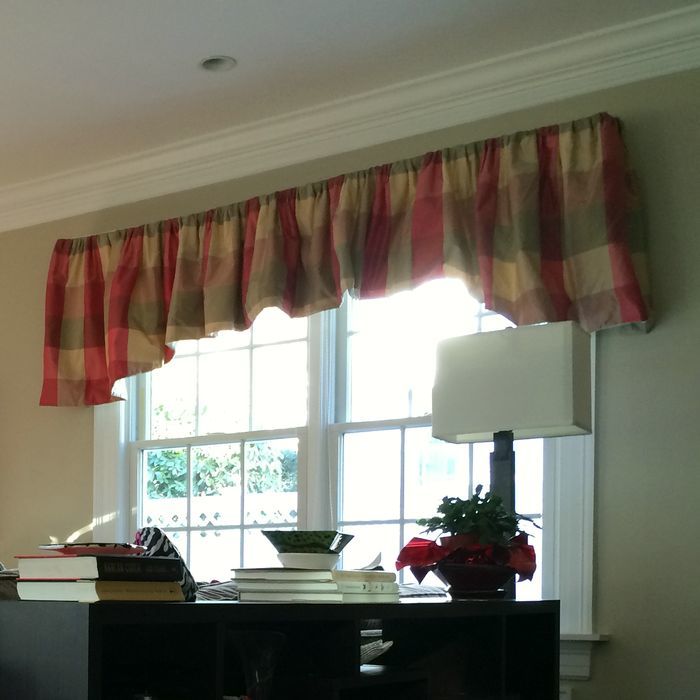
Here are the before shots taken last March.
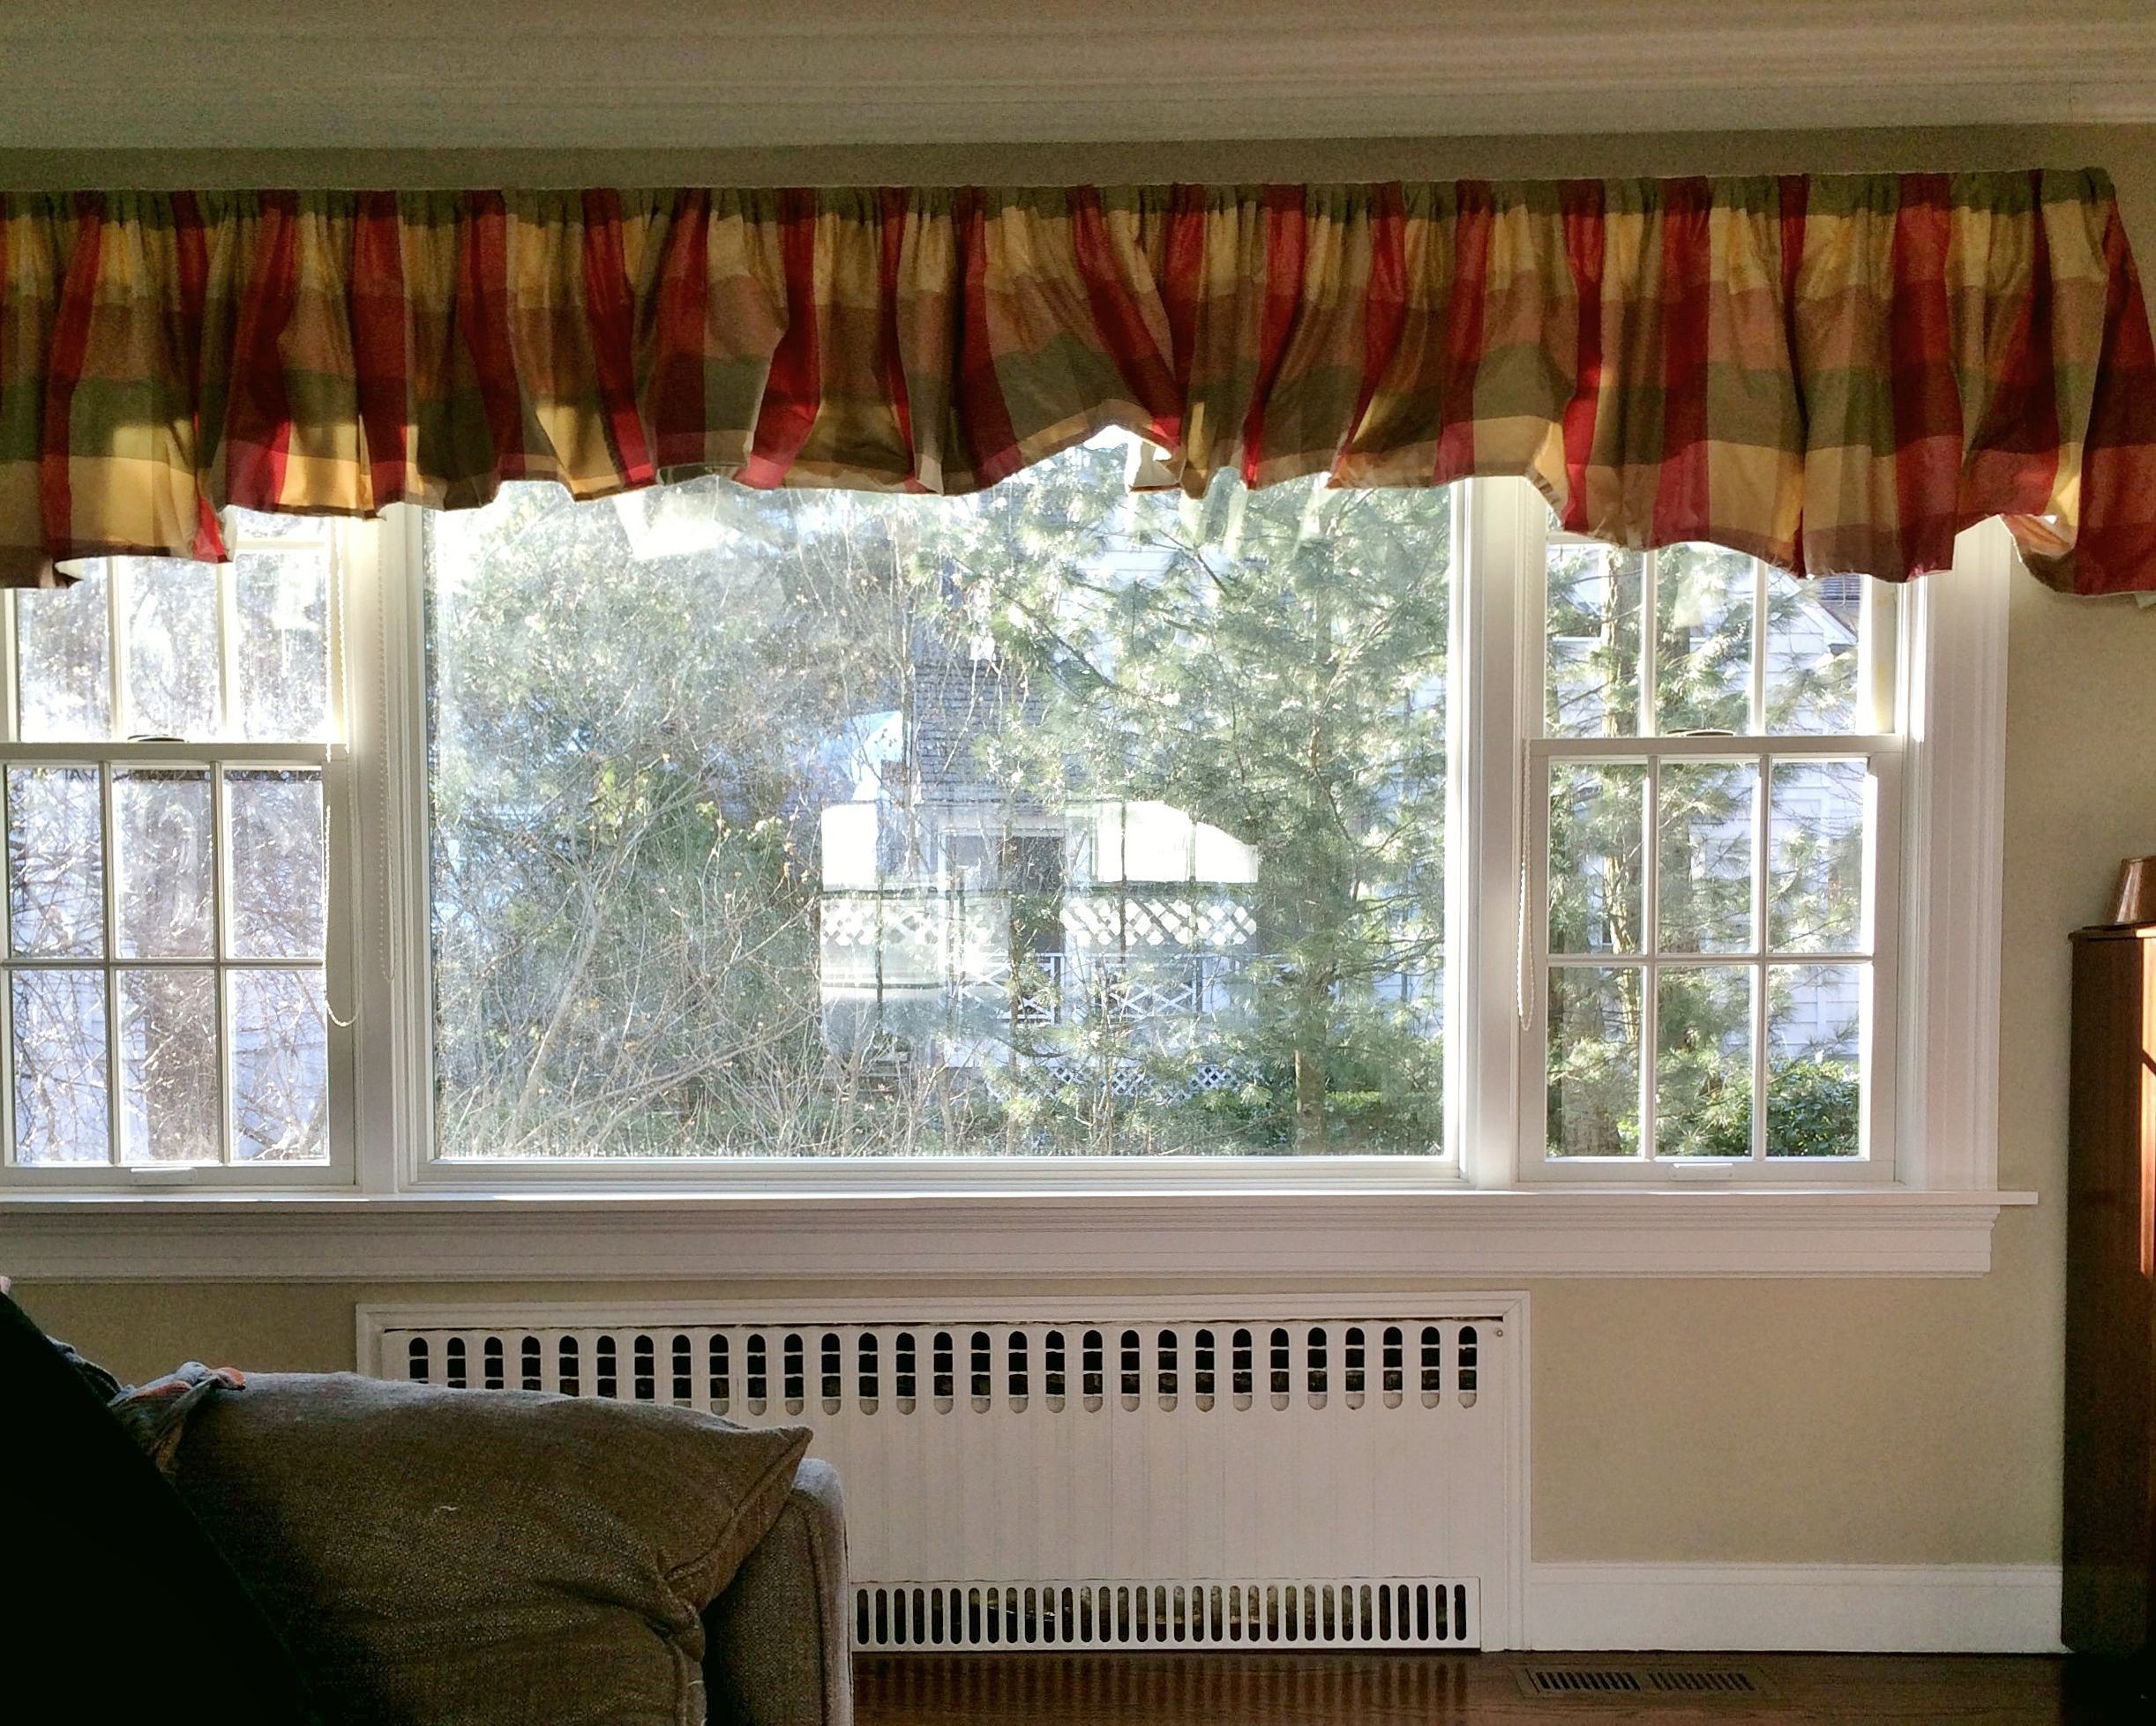
First of all. I absolutely abhor long horizontal windows unless it’s obviously a contemporary home. They always present a problem.
This is a smallish, charming center hall colonial. It was built in the early 60’s. That’s the problem and why we have this abomination. Windows in a center hall colonial should always be single windows, IMO. They can be big tall windows which I adore, but generally are not more than 48-52″ wide, including the window casing. This baby is 132″ wide.
Please, no valances on a long window like this; at least not unless you have draperies underneath. These valances came with the house. The homeowners couldn’t wait to change them.
On top of it all, the previous owners put in an overly tall crown moulding. It goes down at least 2″ more than it should. With an 8 foot ceiling and normal 4″ crown, I find that a drapery length of 89″ is optimal. I always try to have them hung as high as possible. This is a problem with ready-made drapes, because they come in lengths of 84″ and 96″.
I measured and decided that we could get away with an 88″ drape. (please note, that measuring with a window treatment like this already up, also makes things more challenging.)
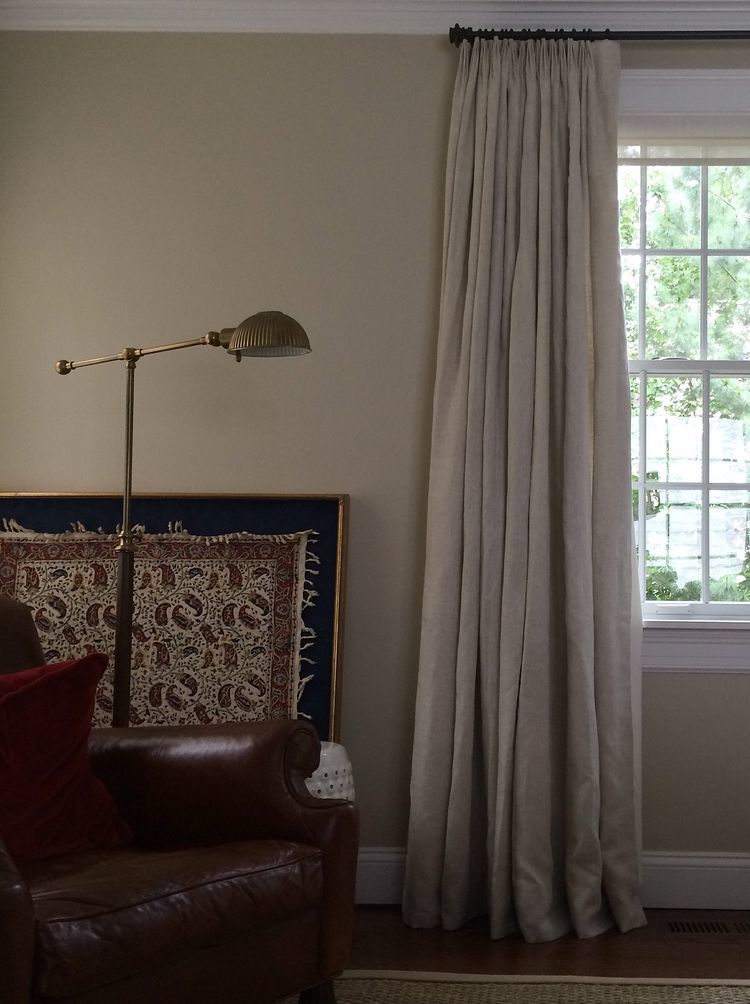
My client V and I explored many options, but in the end, she wanted a very simple tone on tone look. No problem. I love that. We selected a semi-sheer linen, but lined, which is a beautiful look.
Alright. Fabric, hardware ordered and shipped. Work order sent to the work room.
Installation Day
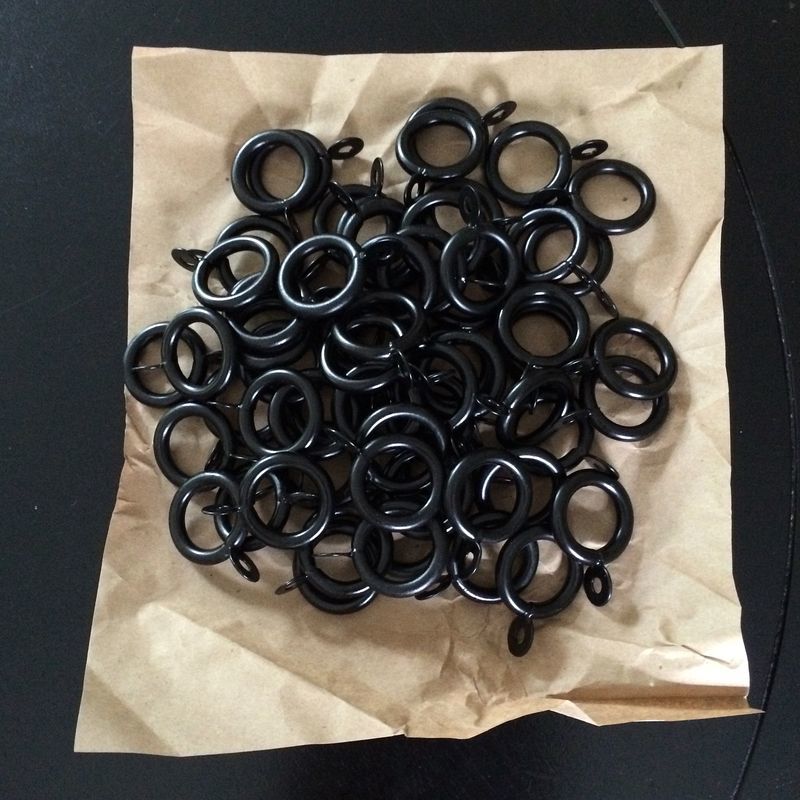
Today, I met the installers and brought over the rings which I buy in bulk.
Here they are.
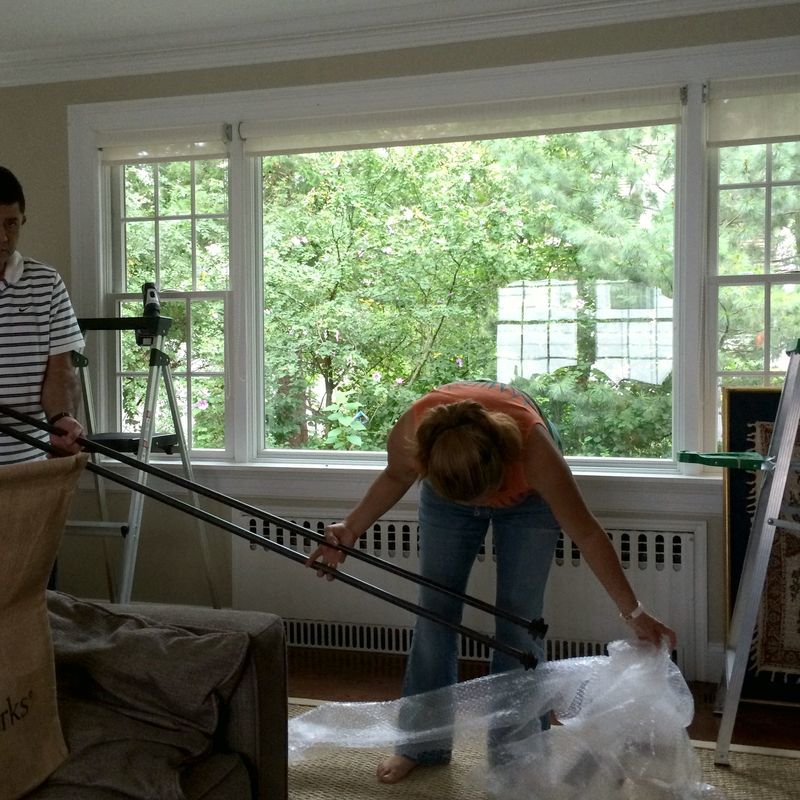
Here is the naked overly long window and Herman and Cris hard at work!
Here’s Why Hanging Draperies Yourself is Not a Good Idea
Issue number one.
The long rods have to come in two pieces. Therefore, they need to be joined. Usually, my fabricator who is absolutely incredible, makes a system where the two pieces screw together. Easy. Then there is a bracket in the middle which you need so that the long rod doesn’t sag and it also hides the seam. These rods have a different system and it took Cris and Herman several stressful minutes to figure it out.
Issue number two.
The rod goes up. uh oh… It is now bowing UPWARD in the middle. HORRIBLY. I didn’t take a photo of that. Trust me. It did. We didn’t realize until later but it was because of this new style bracket in the middle, that the middle bracket needed to be mounted one inch lower than the end brackets. None of us in all our combined 60+ years had encountered this situation.


Issue number three
Other issue with the brackets. Because of the short distance between the top of the window casing and bottom of the overly long crown moulding, we had absolutely NO wiggle room whatsoever.
Issue number four
Now, the drapes are dragging a bit. Cris pins them and hangs one and it’s gorgeous, but dragging on the floor, by– about an inch. Actually, it looked a bit worse on the other side. IF the moulding had been normal, we would’ve been fine because we would’ve had good wiggle room
Issue number five
OR, if the drapes were stationary, no biggy. Here, they look very nice; everyone was very pleased, including V. But… when the drapes were closed, they REALLY dragged on the floor. That’s no good.
The industry standard for drapery length is one inch off the floor, however, I don’t like that.
My optimal length is a hair above the floor, or just breaking. Even a half-inch off the floor is okay, but absolutely no more than that! There is always some wiggle room when we pin. Maybe about 3/8″ because we can pin them so that they hang a bit higher, or not, but not so low that we see the little round hole that the pin goes into.
Issue number 6
Cris closed the drapes. They looked skimpy. I investigate. The drapes are two and a half widths on each side. It is supposed to be three widths on each side. WTF? This has never happened before. I double checked. Yep. Sent the correct yardage and there was plenty for the six widths.
I love Cris. I’ve worked with her on many jobs. She says that there was no more fabric left.
This is when the pounding headache began. I don’t know what happened and there is no way to know either. Let’s just call it an honest mistake. Of course, I am plenty P O’d, but must keep cool because anything else doesn’t help any.
I got on the phone with the fabric vendor. Held my breath… They had 3 yards in the SAME dye-lot.
Thank God!!!
That was a major break. major.
Ordered the fabric and had it overnighted. Yes, this is all out of my pocket and the cost of doing business.
Why am I telling you this long-winded story?
We all make mistakes. Or sometimes, it’s not really a mistake, just stuff happens.
There’s always a solution.
However, sometimes us interior designers LOSE money on jobs because often the solution costs US money. Fortunately, this type of thing doesn’t happen very often.
However, this AND the very difficult technical aspects of installing the rods makes it all extremely challenging work. There are lots and lots of things that lay people can do and do it well, but hanging draperies is not one that I recommend attempting.
The rods are now up and perfectly straight. The drapes will be shortened by 1″. They will be pinned so that they hang a tad lower and the extra half panel will be added to each end giving another width of fullness to the drapes when they are closed.
This reminds me… I am going to be doing another laurel-type post very soon. Yes, indeedy. I have found a couple of articles written about “secrets interior designers won’t tell you.” Really?
The over-riding message from these two articles is that we suck, are out to filch you of every nickel you have. AND there are ways that you can save money instead of hiring one of us horrid rip-off, sneaky, slimy decorators.
One way, is to hire an interior design student.

Yeah, that’s what she said. (no, that’s not Peaches, but it looks exactly like him, freckles and all! so cute!)
When I was a student, I didn’t know jackshit. Oh sure, I had a certain God-given natural ability, but I knew absolutely NOTHING about the business of interior design. That, I learned after four years of working for other people (one, who made substantial mistakes on a weekly basis) And then, with 18+ years having my own business.
And even THEN, things don’t always go perfectly as you can see. Imagine giving all of this responsibility to someone with absolutely no experience except some courses in color, drafting, historical styles, etc. More about all of that coming in the not-too-distant-future.
Well… my headache is gone. Thank you coffee!
More window treatments next week and this job will be up as well– and perfect!
xo,
![]()
Related Posts
 Make Your Table Lamp Cords Disappear Like Magic
 50 Cool, Casual Dining Tables That Can Go Anywhere!
 How My Interior Design Business Lost $30,000 The First Year
 Here’s What You Need To Know Before You Install Marble Countertops
 Interior Design Larchmont NY | New Portfolio Photos!
 We Live Like Squatters | We don’t Even Have Anywhere To Sit!
 The Best Builder Upgrades You May Not Have Considered