
Hi Everyone,
We have two more kitchen categories to go; the next one is the kitchen hardware.
Oh, some of you may recall how I was obsessed grappling with the kitchen hardware—or rather, the English word “ironmongery.”
Now that I’ve lived with most of my beautiful kitchen hardware for over a year, here’s what I would’ve done differently.
Not much. I love all of it. (Most of it will be linked to at the bottom of the post.)
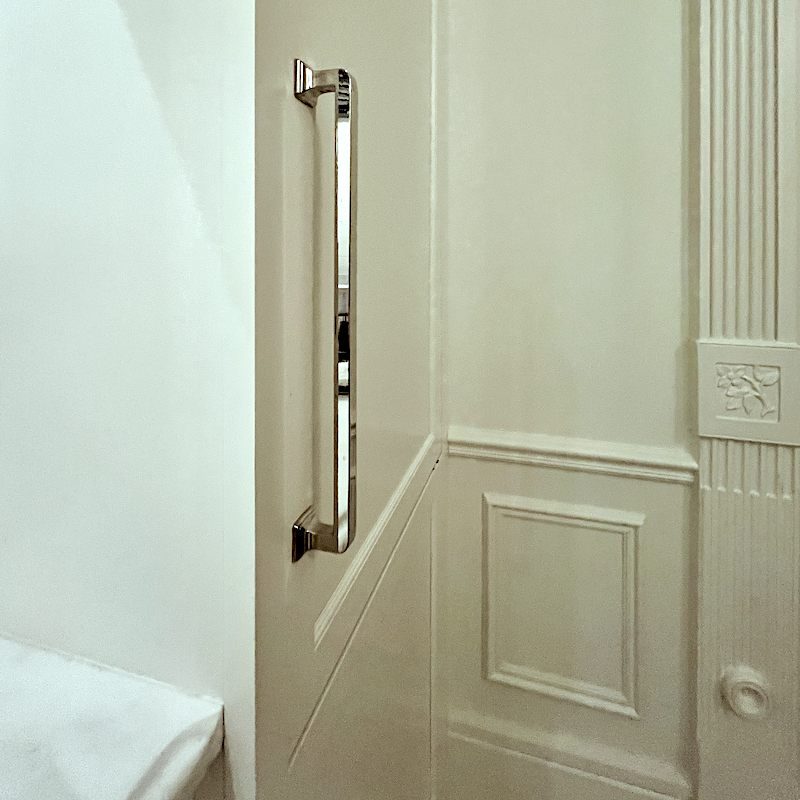
But, nothing is more spectacular than the cremone bolts I got from Wilmette Hardware. The nickel finish on them is fantastic and doesn’t get grody after touching one time.
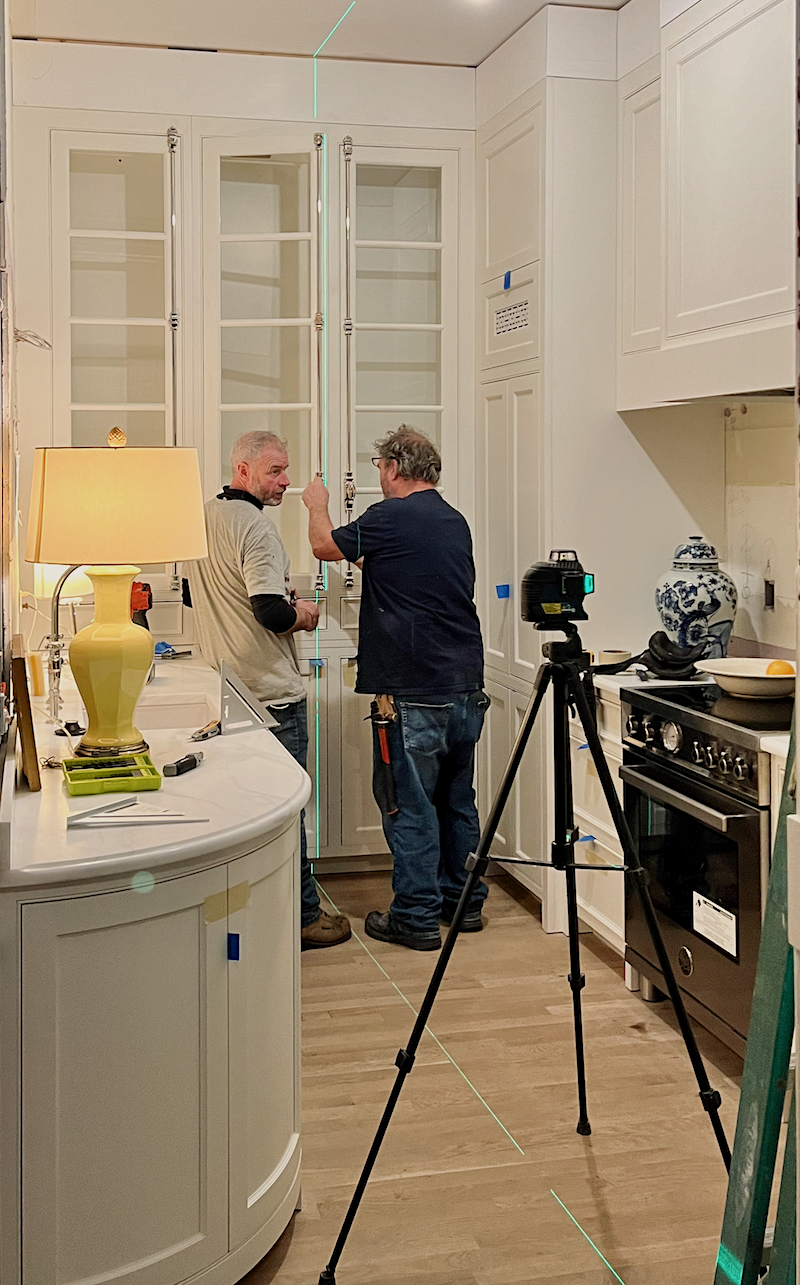
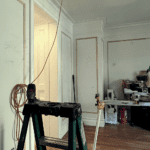
Above, on December 18, 2023, is when B & E put the Cremone bolts up.
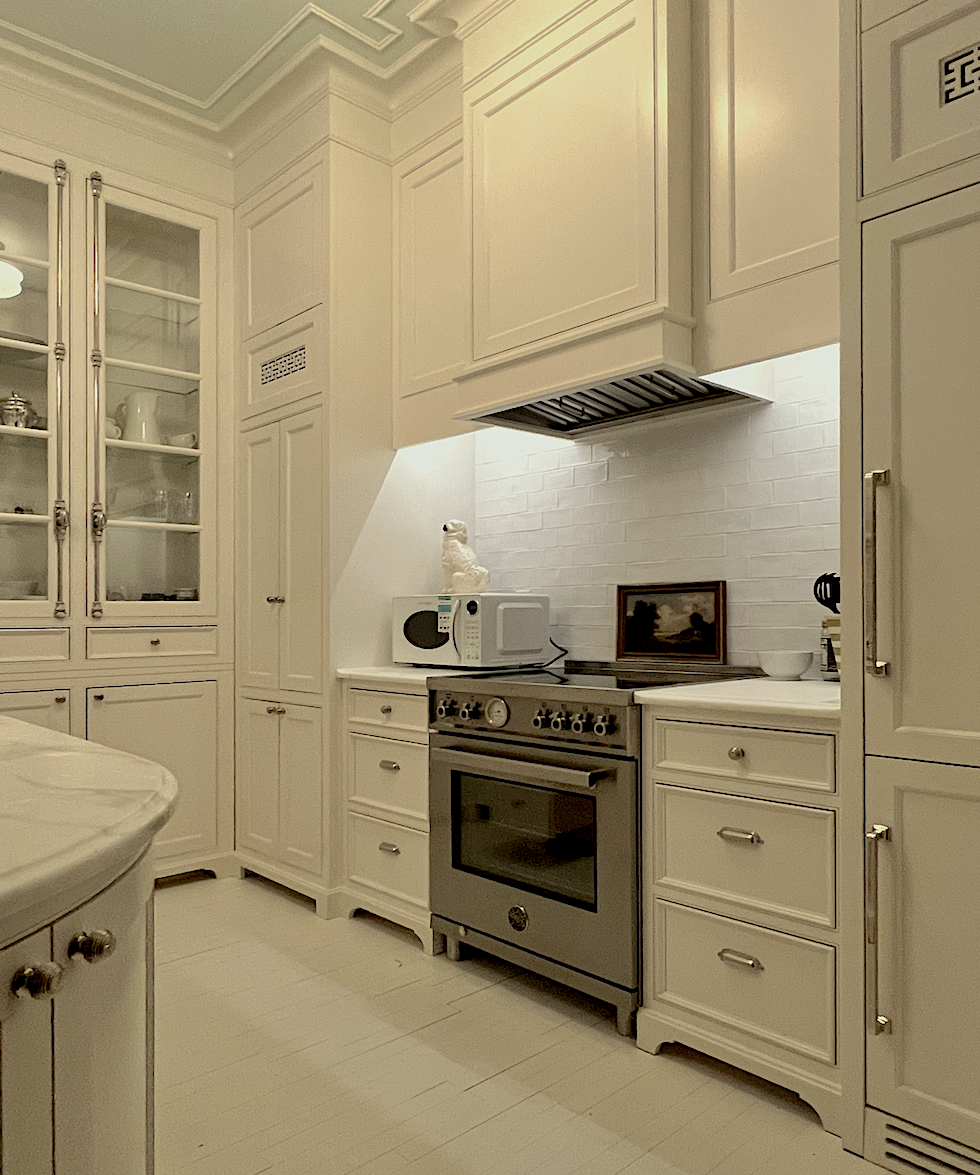
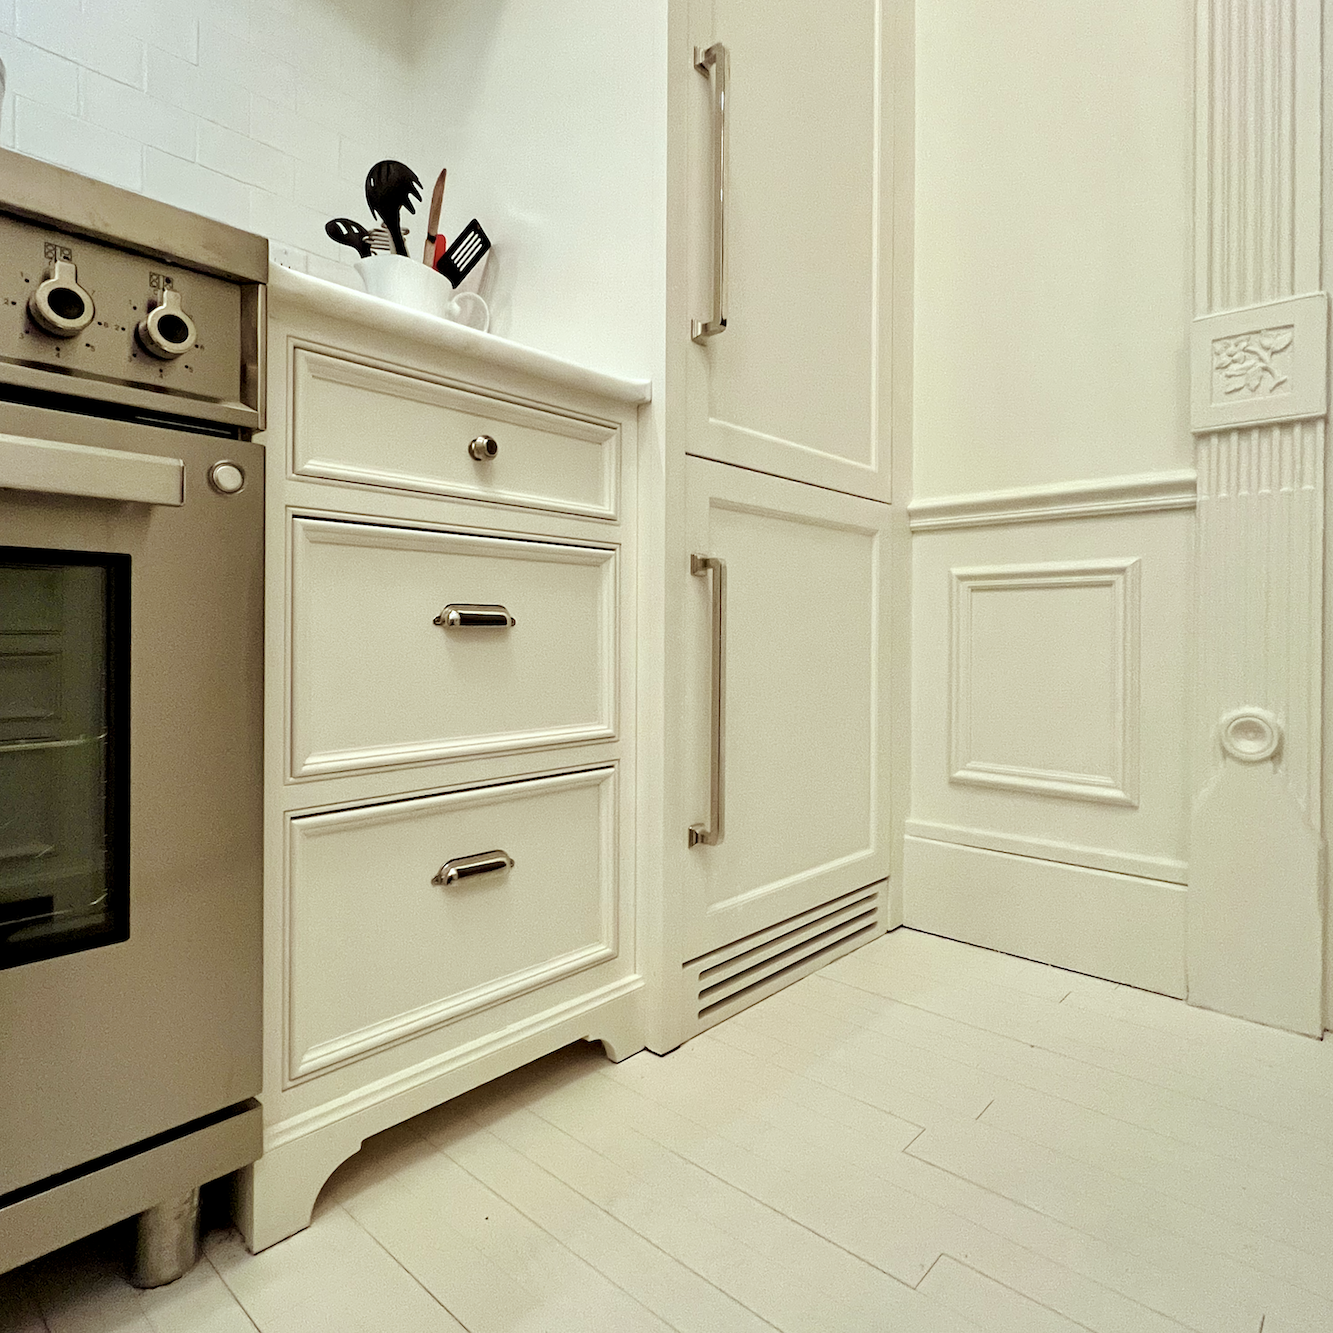
Unfortunately, while gorgeous, when newly wiped clean, the Schaub Menlo Park appliance handles are the opposite. I love them, but they require constant wiping down. I’ve tried using that glass polish from Weiman’s, but it doesn’t prevent the inevitable fingerprints from showing up.
I used the same Menlo Park handle for the dishwasher in a six-inch size—just a regular drawer pull. That doesn’t seem to have the same problem as the fridge handles.
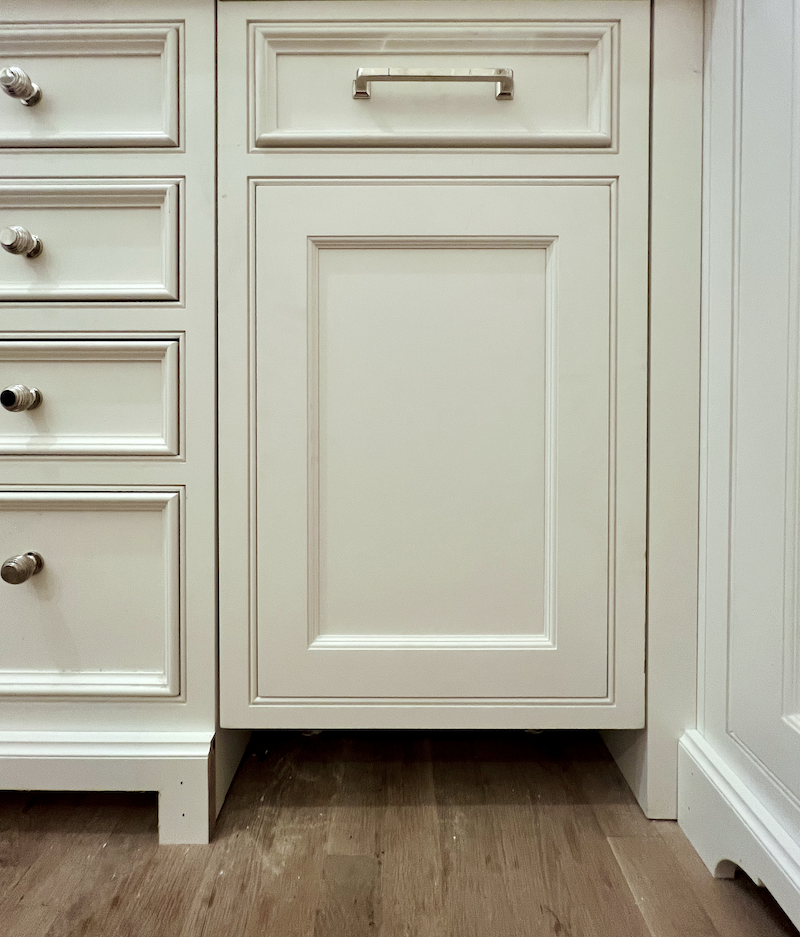
There are four bin pulls from Rejuvenation. They are also in polished nickel and stay much cleaner. They look lovely and work just fine, but they feel a little thin in my hand. I’m not saying don’t get them. My guess is the larger size feels more substantial. I don’t know. If anyone has the Vernon bin pulls in the 4″ or 6″ size, please let us know your take.

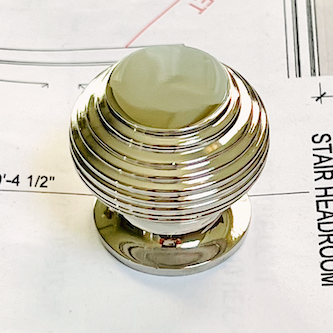
The last piece of cabinetry hardware is the charming nickel knobs from Decor Infiniti on Etsy. I chose the classic beehive style in the one-inch size. I’m super happy with them. They’re practical, stylish, and reasonably priced. That helped justify the expense of the cremone bolts.
Okay, that’s it for the kitchen hardware. I will review the cabinetry and paint colors/finishes last.
However, I have three more items to add to the kitchen hardware.
That is the sink, the faucet, and the disposer switch.
I got an undermount sink in fireclay with a white finish. I adore this sink. It is easy to maintain, has a good depth, and looks terrific with the marble. I am incredibly glad I did not get stainless!
Are you sensing a but?
If so, you are right.
The but is my booboo. Because my kitchen lacks square footage, I had to go with the smallest cabinet one can safely do for a kitchen sink. It is only 30″ wide. What I didn’t realize but should have is that the disposal has to be right under the drain. And yeah, the sink drain is in the middle of the sink.
My GC actually got my disposal, and he got the skinniest, most powerful insinkerator he could find. That’s because I only had room for a sliver of a garbage can. But really, it ended up being totally fine.
Still, for some, it would’ve been better to have had the drain on the right side of the sink to have more room for a larger garbage can.
I just looked on Wayfair and found one Fireclay 24″ sink with the drain on the right. It also has an overflow hole. It sticks out, which I don’t care for, but please know that my sink does not have an overflow hole if that’s important to you.
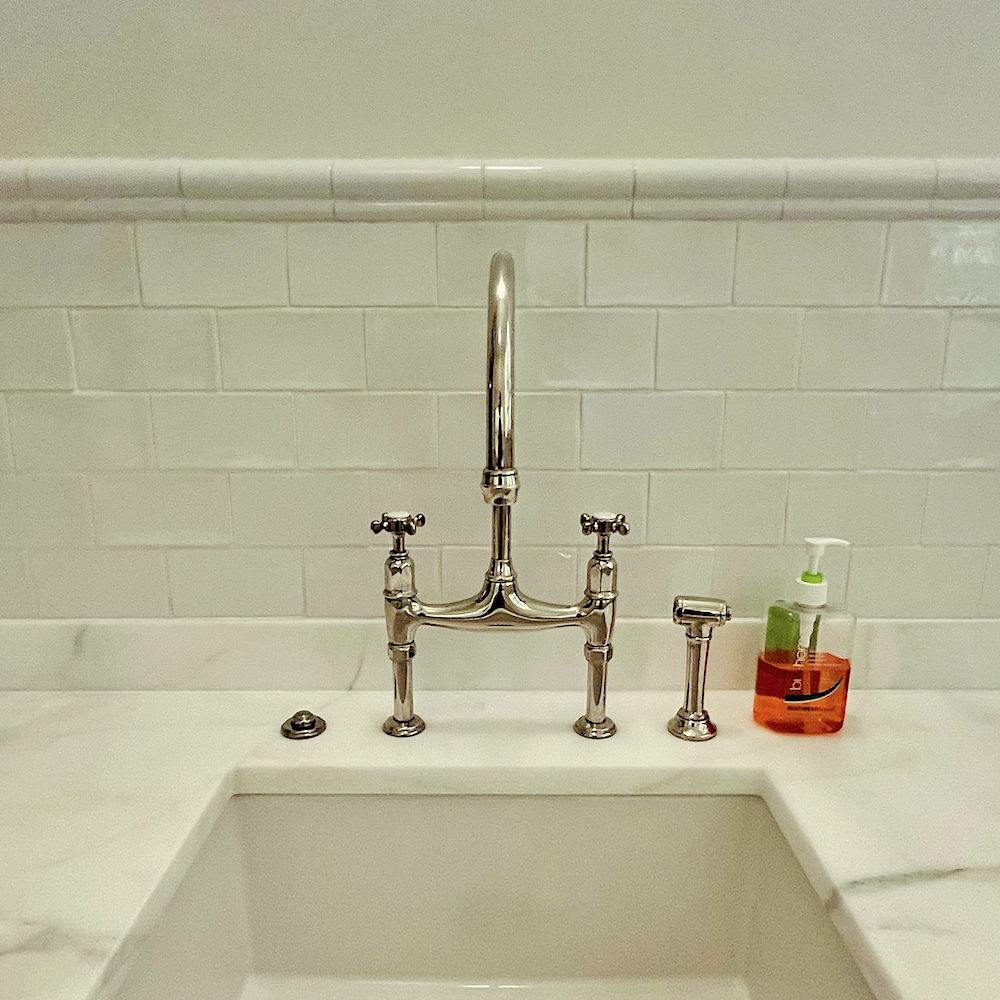
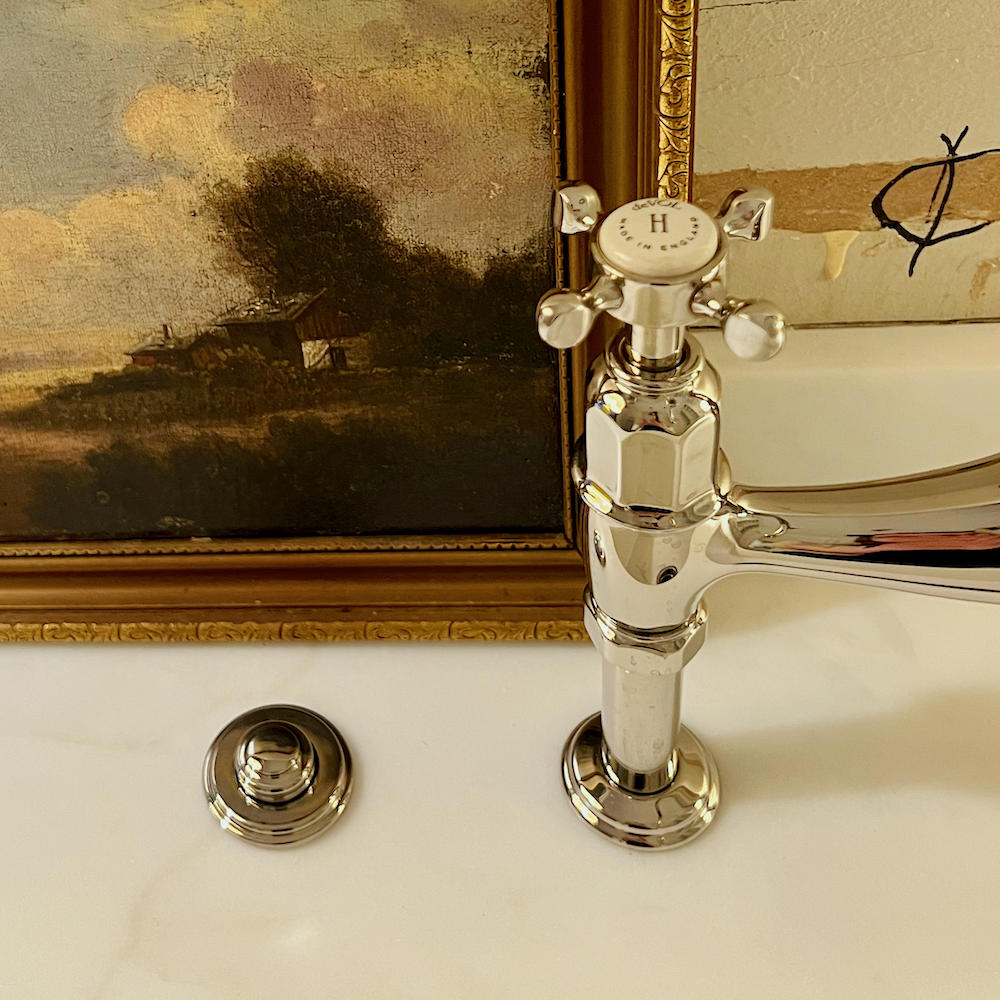
Natch, I saved the best for last. That is the deVOL polished nickel bridge faucet.
It is divine.
But, doesn’t the polished nickel spot, Laurel?
Oh, stop being such a killjoy.;]
Yes, it does spot a little; however, with a bit of polish, they come off. I don’t wipe it down daily, only when I notice it needs it. It’s not difficult to maintain.
All-in-all, I’m very happy with my selections.
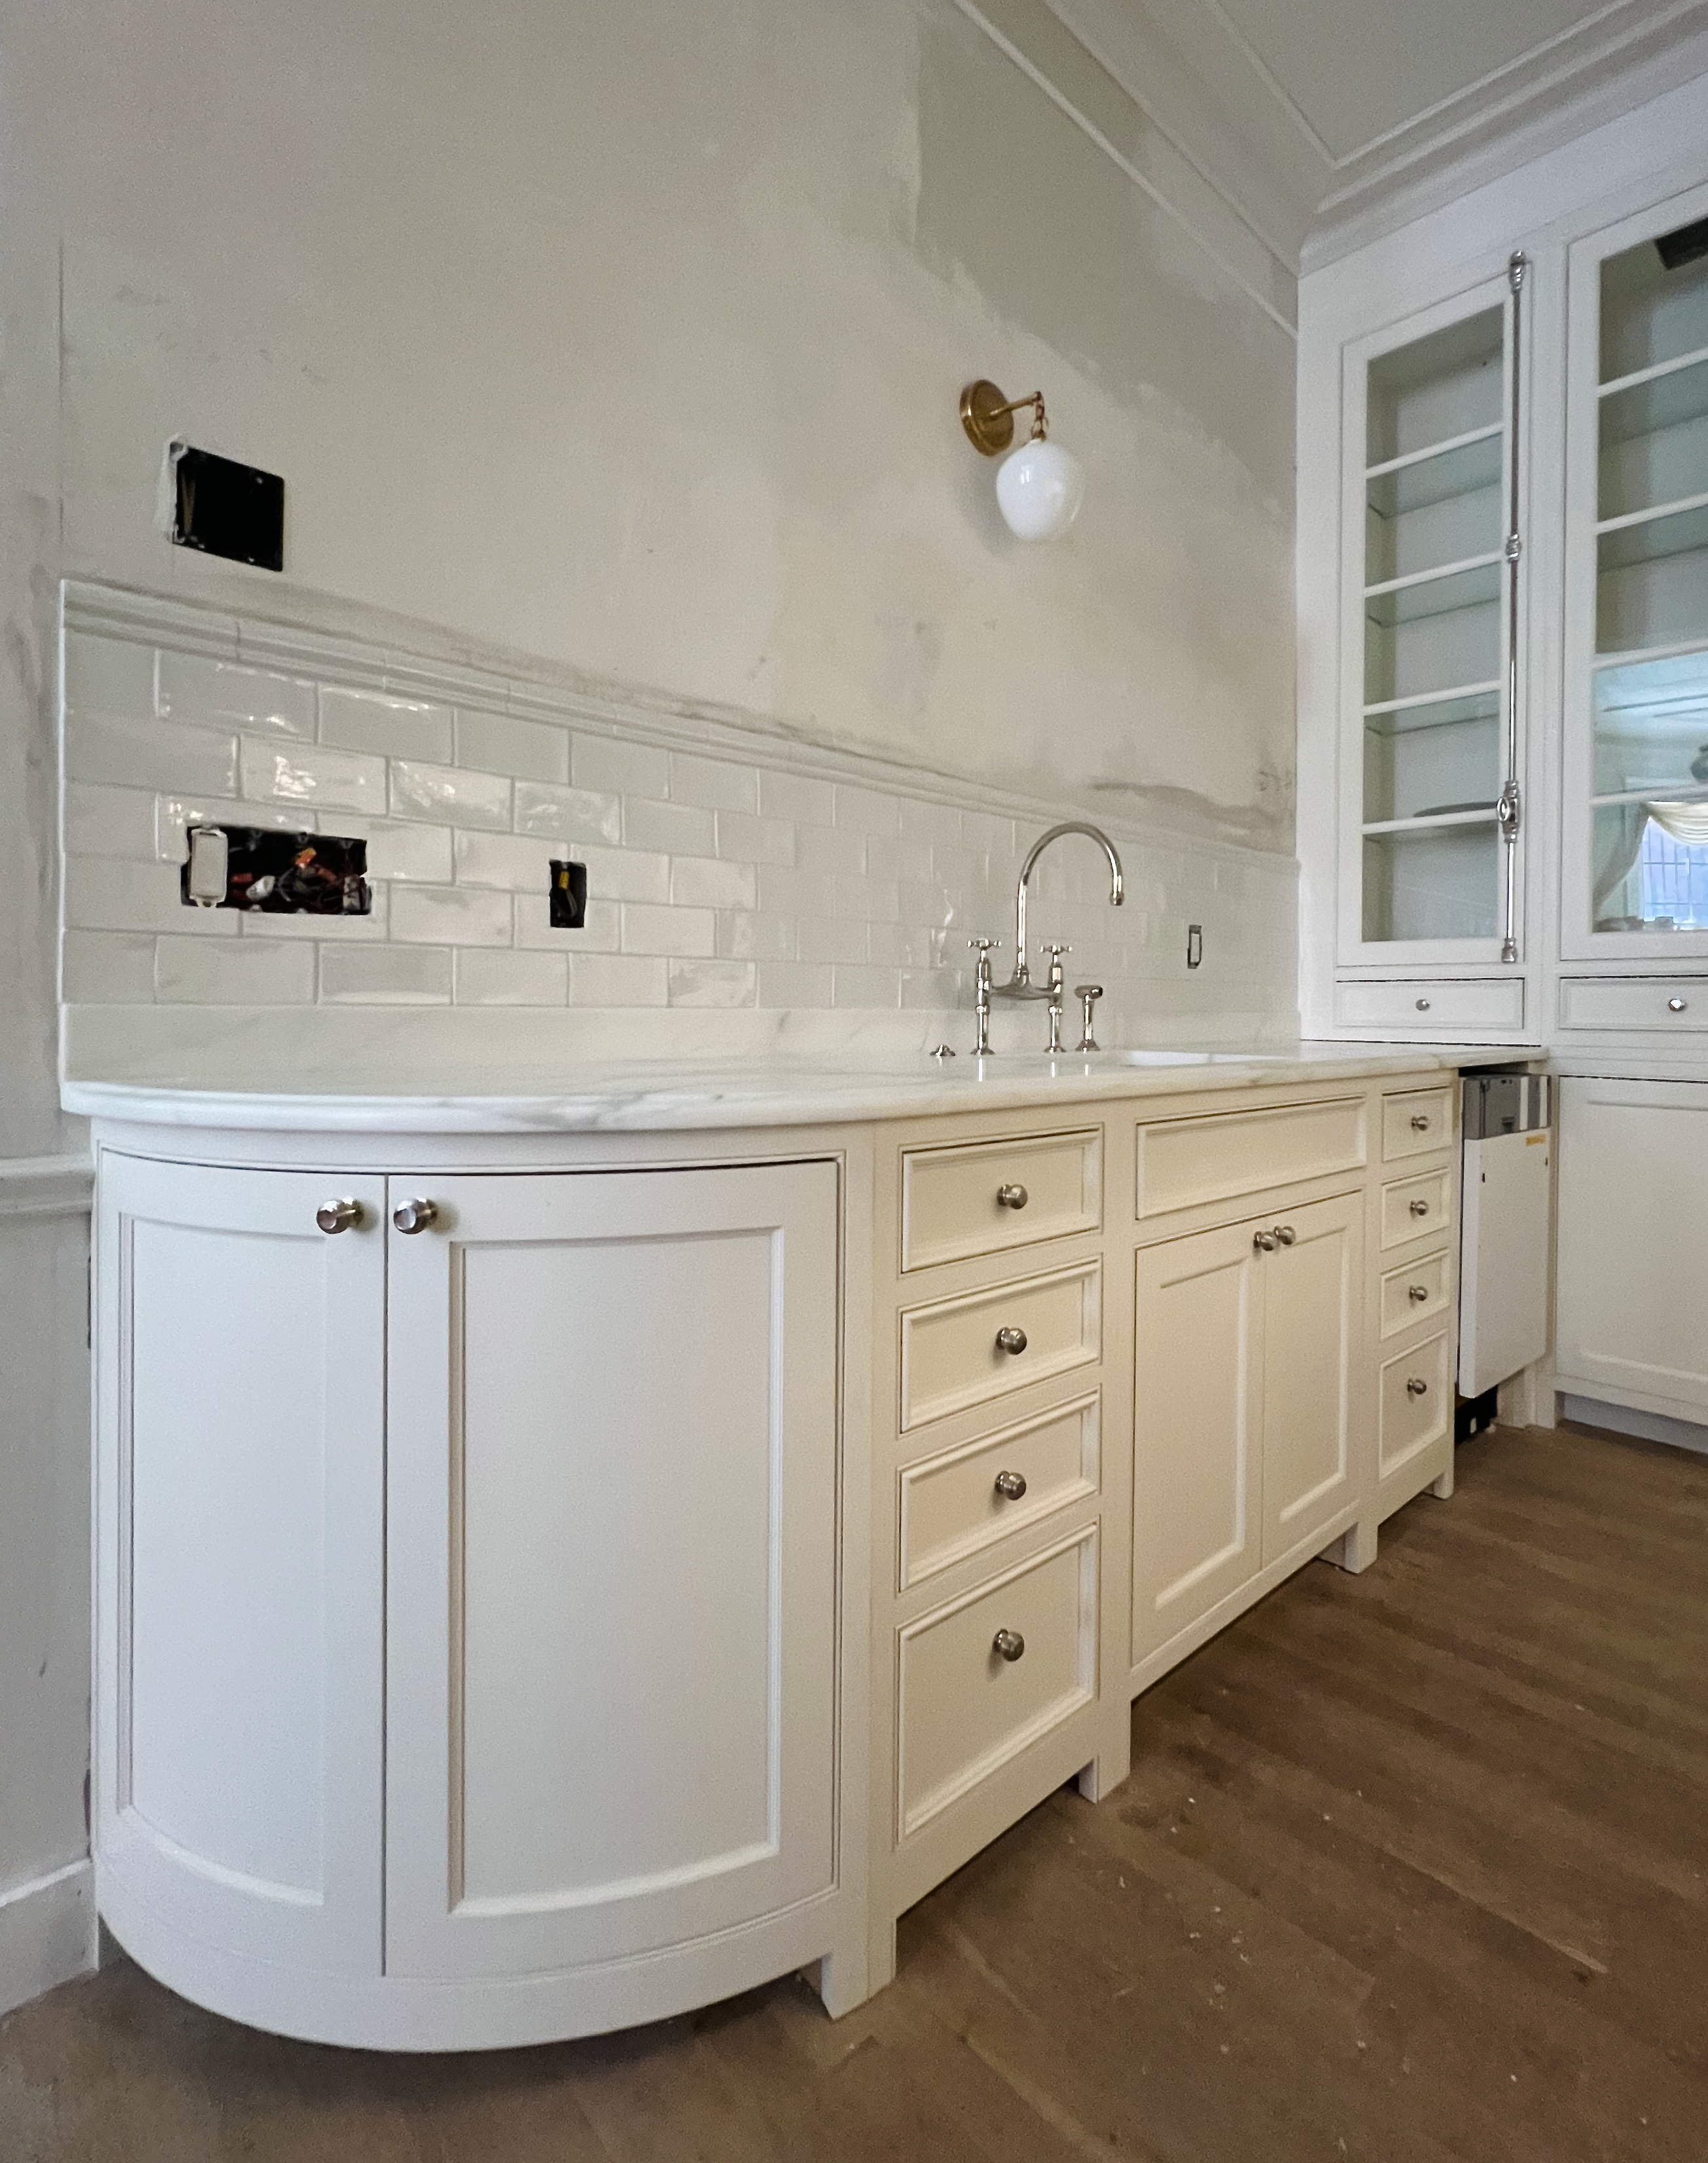
An old shot was taken last June, around the time I was going through painting hell downstairs. And yes, we did raise the height of the sconce by about 18″. This was just before the decorative toe kicks were finally put on.
Below is a widget with all of the hardware except for the cremone bolts from Wilmette Hardware and the deVOL bridge faucet. I substituted the Perrin & Rowe bridge faucet. They are nearly identical, and P&R makes the bridge faucet for deVOL.

Oops. I forgot one item. That is the disposer air switch next to the faucet by Rohl.
Okay, we’re almost finished with the kitchen. It’s amazing how much went into that tiny space.
xo,

***Please check out the recently updated HOT SALES
There is now an Amazon link on my home page and below.
Please note that I have decided not to create a membership site. However, this website is very expensive to run. To provide this content, I rely on you, the kind readers of my blog, to use my affiliate links whenever possible for items you need and want. There is no extra charge to you. The vendor you’re purchasing from pays me a small commission.
To facilitate this, some readers have asked me to put
A link to Amazon.com is on my home page.
Please click the link before items go into your shopping cart. Some people save their purchases in their “save for later folder.” Then, if you remember, please come back and click my Amazon link, and then you’re free to place your orders. While most vendor links have a cookie that lasts a while, Amazon’s cookies only last up to 24 hours.
Thank you so much!
I very much appreciate your help and support!
Related Posts
 The Hidden Bathroom Doors Are Installed, but there’s a Problem
 How Much Does A Whole House Renovation Really Cost?
 Finalizing the Primary Bathroom Design (Parts 1 & 2)
 The First Renovation Tour Of The Upstairs Living Areas! (Parts 1 & 2)
 Hardwood Floor and Primary Bathroom Update!
 My Extensive Renovation. Here’s Why I Did It.
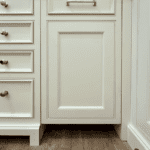 The Renovation Building is Complete + Kitchen Details & A Miracle!