
Hi Everyone,
This is part 2 of the upstairs house tour. It was originally all one video, but it was over half an hour, which became a bit difficult for me.
So, if you’ve already read and watched part 1 please click the link below to skip to part 2.
Part 2 Begins Here
Hi Everyone,
Today, we’re going to have a renovation tour of the upstairs. This video was made two weeks ago after the hardwood floor was screened but before the new finish was put on.
I’ve divided the video into four parts, roughly nine minutes each. However, today, there is only time for parts 1 & 2 There is a version with ads that help support me and the running of this website. And, for those who can’t tolerate the ads or are having trouble seeing the video, there’s also a YouTube version.
But first, for those wondering what horrible thing happened at 9:30 at night on October 9th, please go back to the previous post to find out. (No worries. I’ll wait for you to come back.)
Okay, and now for the renovation tour. But before we begin, I’d like to point out a few important things.
I find it easier to walk, talk, and show things by holding the camera vertically. In any case, I am usually zeroing in on details.
I’m sorry. I know that on occasion, some words get dropped, and it would be better if I wasn’t relying on my phone’s microphone.
Also, these are not the last videos I will be making.
After each video, there will be a brief commentary to clarify or correct something I said or to share an image(s) showing an area as it was before.
Please note that you’ll see lots of shots of the floor. This is the floor after it was screened, so it doesn’t look as plastic as it did. However, you can see how poorly the new wood blends in.
Okay, first up is video number one. It starts in the kitchen, and please forgive the ragged beginning. This is me, unscripted and unrehearsed.
Okay, let’s look at the old entry, mostly mid-renovation.
Above is the old entry about 14 months ago. Please note that all of the old floor in the entry AND to the left of the saddle was ripped out and thrown away. Between that and the wood needed to make the new stairwell, there was plenty of wood to make the repairs. Sure, they could’ve replaced a few of the boards with new wood, but not 20% of the floor, like they did.
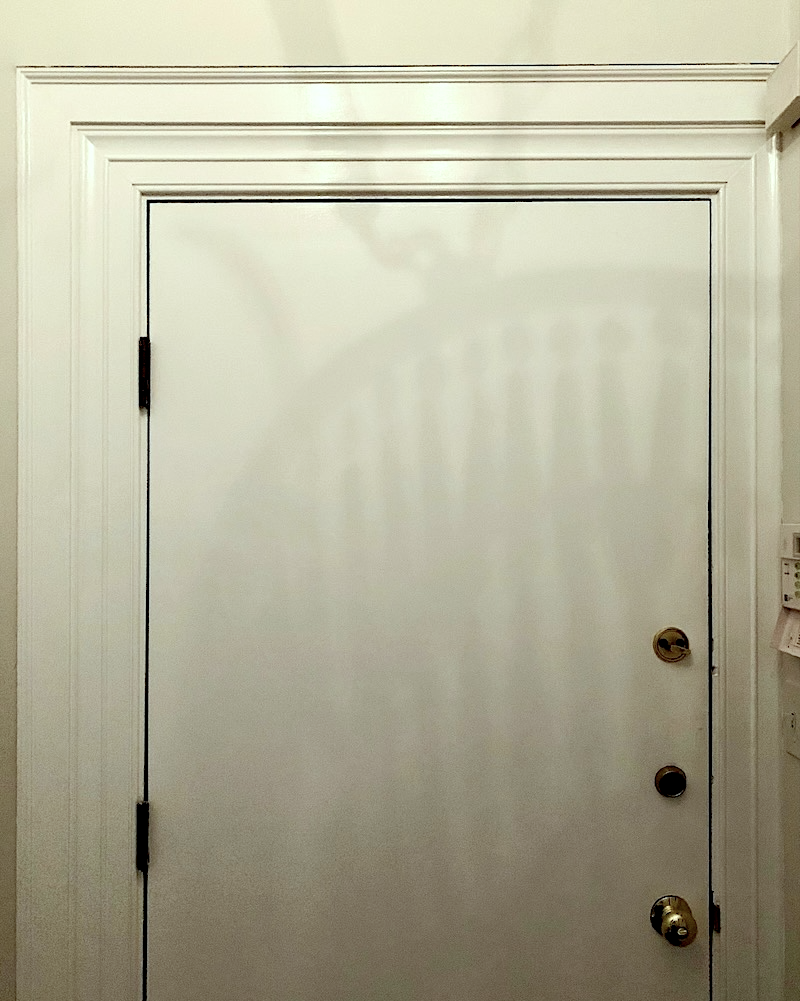
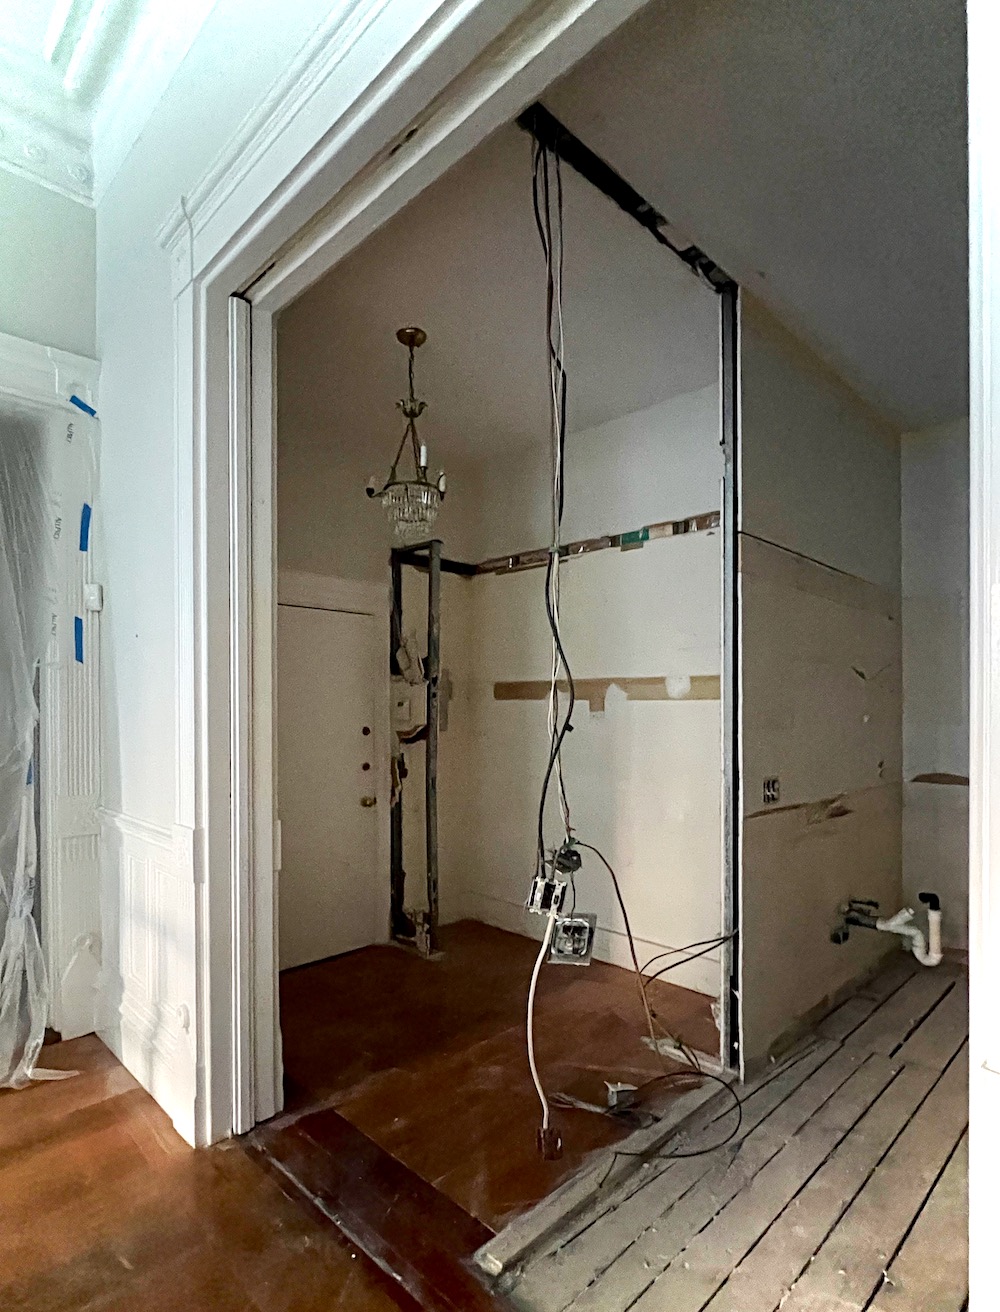
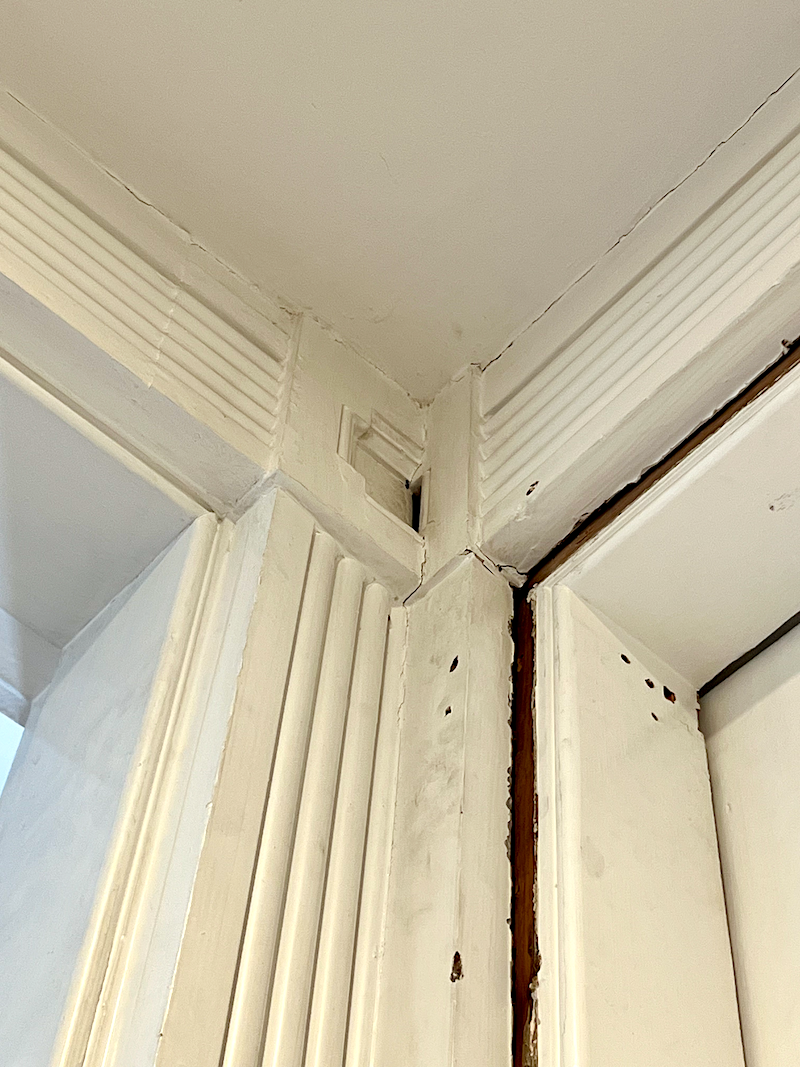
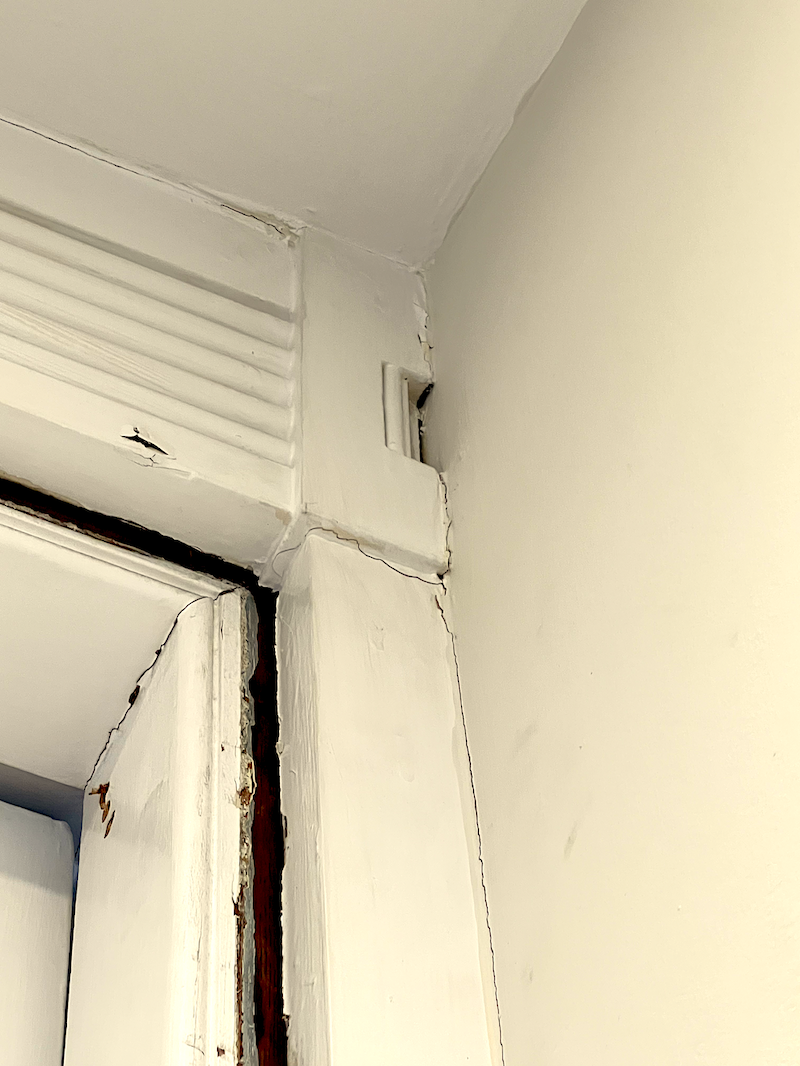
Okay. Above is the front door, as it was before the guys fixed everything. They had to take the entire wall down to the studs, which was scary to see. (below)
Above, the guys had to do a number to make the wall right. That arch was original to the home. This was a reception area between the front parlor and the formal dining room.
Okay, let’s look at part 2.
We’ll see the den and talk about the paint colors. There’s also a lot of talk about the formerly horrid vestibule.
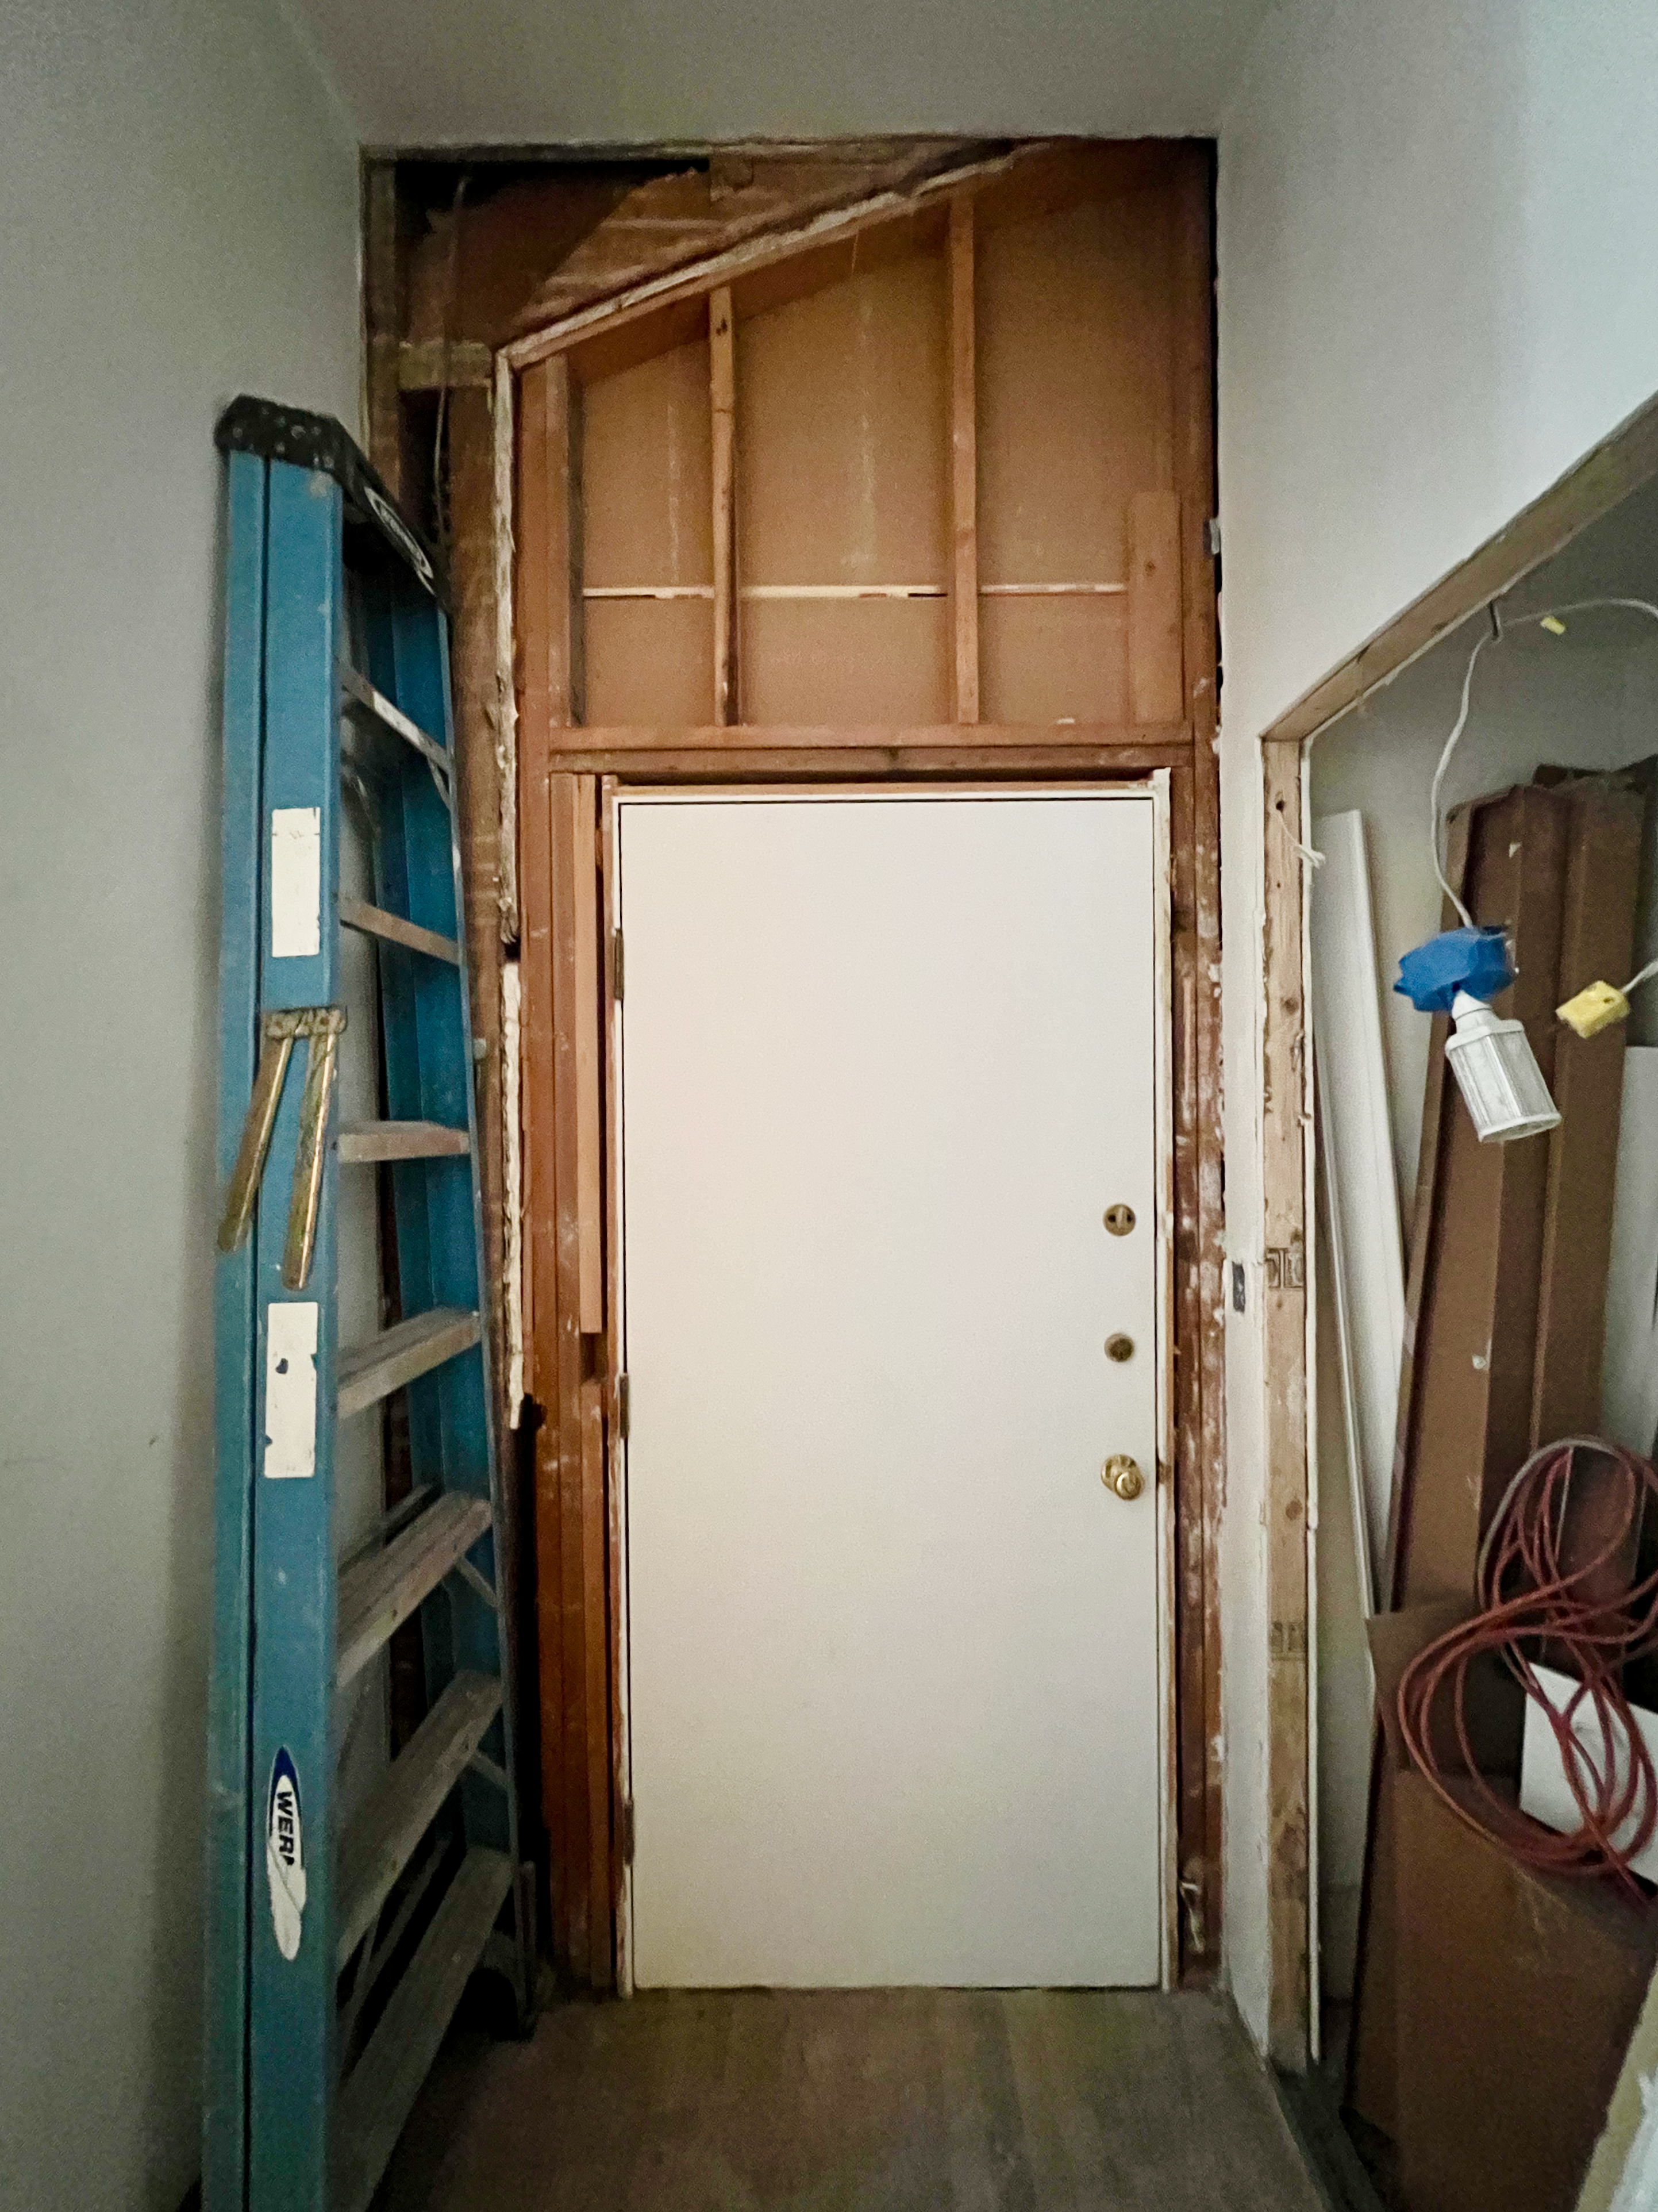
Below is how the trainwreck vestibule looked several months ago.
Eegads!
I am completely horrified when I look at these pics! How on earth did I live through this?
Okay, and I turned parts 1 and 2 into one video for those who want to see the renovation tour on YouTube.
I hope you enjoyed part 1 of the renovation tour. I should be back either Thursday night or Sunday morning for part 2 which will be two more videos.
xo,

*********************************************************
Part 2 Begins Here
October 20, 2024
Okay, now we’re ready for part 2. Like part 1, there are two shorter videos with ads (videos #3 and #4). The ads help me earn a living! However, for those who can’t see the video or are allergic to the ads, lol, a version of the entire part 2 on YouTube is also coming up.
Before we view video #3 of the renovation tour, a quick review of the den wall colors.

The North Sea Green wall color above looks deeper than this, but not always. Sometimes, it’s quite vivid, and other times, it’s more gray, blue, or green. It’s never the same!
The ceiling and frieze are Benjamin Moore Mayo Teal.

North Sea Green does look this dark on this small wall, but mostly, it looks much brighter than this.

This is a good example of how it often looks during the day.

Above is a nighttime view. (with a 24″ cutout of the chandelier)
We’re going to go over the mouldings, both original and new, and the fireplace mantel and insert. We’ll also be talking about the painting I’d love to copy, which I’ll share again after part 3, which is coming right up!

Even though I took this from an angle, I could straighten it out in my photo editor. Below is the original photo.

And, below is how the painting will look on my wall.

Whenever I talk about reproduction art, it seems a couple of people get hot under the collar because I haven’t employed a “starving artist” to paint the artwork. Yes, I could hire someone, and maybe, in the end, that’s what I’ll do. However, I’ve long loved the idea of creating a large, high-quality reproduction on canvas. So, let’s look at it as an experiment for now.
While I’m here, I didn’t say anything in the video when I picked up the 30″ round tray.
I bought that to see how a 30″ diameter alabaster bowl would look in the living room.
Even though I just wrote a post contradicting this, a 30″ bowl will be huge! The average size of the vintage alabaster chandeliers I’ve looked at is about 19″ in diameter. Mine is already on the large side at 24″. I also looked at some new pieces.
In the end, I’m happy with this decision to do the 24″ size, and I can use the price difference for something else. The chandeliers are going to be beautiful.
Okay, please enjoy the last of the renovation tour with video #4.
For those who’d like to see parts 3 and 4 of the renovation tour on YouTube, please see it below.
I hope you enjoyed this renovation tour of both the upstairs and downstairs, here, if you missed it.
So, now that we’ve had the complete renovation tour, what else is going on?
Well, there’s a lot. I’ll be sharing more very soon! Plus, there will be many more tours that focus on specific aspects.
In the meantime, Boston began early voting TODAY, October 19th. For early voting, one can vote wherever it’s convenient and anytime the polls are open. So, today at about 5:30 PM, figuring that the crowds would’ve died down by then, I marched myself over to the Boston Public Library.
I just waltzed right in—no waiting. I picked up my ballot and then went to fill it out by hand, which I’ve never done before. But it all only took a few minutes.

It’s all done. Well, that sure felt good! Then, I took myself for another long walk. I’m trying to do that at least five times a week.
Alas, it’s my late mommy’s 102nd birthday. Lee passed away in August 2019. I was very lucky to have her for so many years.
xo,
***Please check out the recently updated HOT SALES!
There is now an Amazon link on my home page and below. Thank you for the suggestion!
Please note that I have decided not to create a membership site. However, this website is very expensive to run. To provide this content, I rely on you, the kind readers of my blog, to use my affiliate links whenever possible for items you need and want. There is no extra charge to you. The vendor you’re purchasing from pays me a small commission.
To facilitate this, some readers have asked me to put
A link to Amazon.com is on my home page.
Please click the link before items go into your shopping cart. Some people save their purchases in their “save for later folder.” Then, if you remember, please come back and click my Amazon link, and then you’re free to place your orders. While most vendor links have a cookie that lasts a while, Amazon’s cookies only last up to 24 hours.
Thank you so much!
I very much appreciate your help and support!
Related Posts
 Laurel’s Home Renovation 2024 – News & Deets!
 My Bathroom Design– Architecture, Lighting, Vanity, & More Parts 1&2
 Hardwood Floor and Primary Bathroom Update!
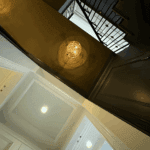 Architectural Details That Will Elevate Your Rooms – Parts 1 & 2
 14 month Renoversary! and I’m Back In My Bedroom!
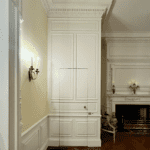 Happy One-Year Renovation Anniversary + Lots of News!
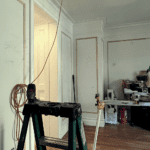 The Hidden Bathroom Doors Are Installed, but there’s a Problem